How to Make an Outdoor Wood Sign: A Complete DIY Guide
There's something undeniably special about a handmade outdoor wood sign. It’s a piece of you, proudly displayed for the world to see, whether it's a welcoming message for your home, your business name, or a beloved quote. But the great outdoors is a tough crowd—sun beats down, rain pours, and temperature swings can turn a beautiful project into a warped, peeling mess in just a few seasons.
The good news? With the right materials, a solid plan, and a few pro tips, you can absolutely create a stunning, durable outdoor wood sign yourself. This guide will walk you through every step, from choosing the perfect board to installing it for the long haul. We’ll cover the common pitfalls DIYers face, what actually determines durability, and help you decide when a DIY project makes sense versus investing in a professional piece.
Best Wood for Outdoor Signs
Your sign’s lifetime story begins with the board you pick. Not all wood is created equal for outdoor use. The key factors are natural rot resistance, dimensional stability (resistance to warping), and how well it accepts finishes. Below is a quick overview of some different species and their performance outdoors. For a complete comprehensive guide, check out this article on What Wood Is Best For Outdoor Signs.
| Wood Type | Rot Resistance | Stability | Cost & Notes |
|---|---|---|---|
| Cedar | Excellent | Very Good | Moderate. A top choice for DIY; lightweight, easy to work with, and naturally weather-resistant. |
| Redwood | Excellent | Very Good | High. Another premium, durable softwood that can last decades outdoors. |
| White Oak | Excellent | Good | High. A very strong, durable hardwood, but can be heavy and harder to work with. |
| Teak | Outstanding | Excellent | Very High. The gold standard for outdoor durability, but its cost often makes it better suited for professional signs. |
| Marine-Grade Plywood | Good (with sealing) | Excellent | Moderate. A fantastic, stable panel material if you meticulously seal every single edge and face. |
| Cypress | Excellent | Very Good | Moderate to High. Similar to cedar in its natural resistance and workability. |
Woods to Avoid: Steer clear of MDF, particleboard, or untreated construction pine (like common "whitewood") for any outdoor project. These materials swell and disintegrate quickly when exposed to moisture, making them poor choices for long-term signage.
What Tools Do You Need to Make a Wood Sign?
You don’t need a fully outfitted woodshop to get started. Here’s a breakdown of essentials and nice-to-haves:
Essential Tools: Tape measure, pencil, clamps, sandpaper (80 to 220 grit), a drill/driver, safety glasses, and a dust mask.
For Cutting & Shaping: A circular saw or miter saw for breaking down boards. A router is incredibly valuable for creating crisp, recessed letters that hold paint beautifully.
For Lettering: Your method dictates the tools. For painted letters, you’ll need brushes, foam rollers, and stencil materials. For a routed sign, you’ll need the router, appropriate bits, and a way to create a template. For raised three-dimensional lettering, you’ll want to have access to a scroll saw or laser cutting machine.
For Finishing: Quality brushes or foam applicators for applying stain, paint, and sealant.
How to Design an Outdoor Wood Sign That Lasts
A great design balances aesthetics with weather-readiness.
Keep It Legible: Choose fonts that are bold and clear. Super-thin scripts or tiny details can get lost under layers of finish or become hard to read from a distance. High contrast between the background and letter color is key for visibility over time.
Size Matters: Scale your design to your board. Leave a generous "margin" or border around the edges—this not only looks professional but protects your lettering from the most vulnerable edges of the sign.
Transfer Your Design: For hand-painting, you can use graphite paper to trace a printed design. For routing, a paper template secured with spray adhesive works well. Many DIYers have great success using pre-cut vinyl as a sophisticated paint stencil.
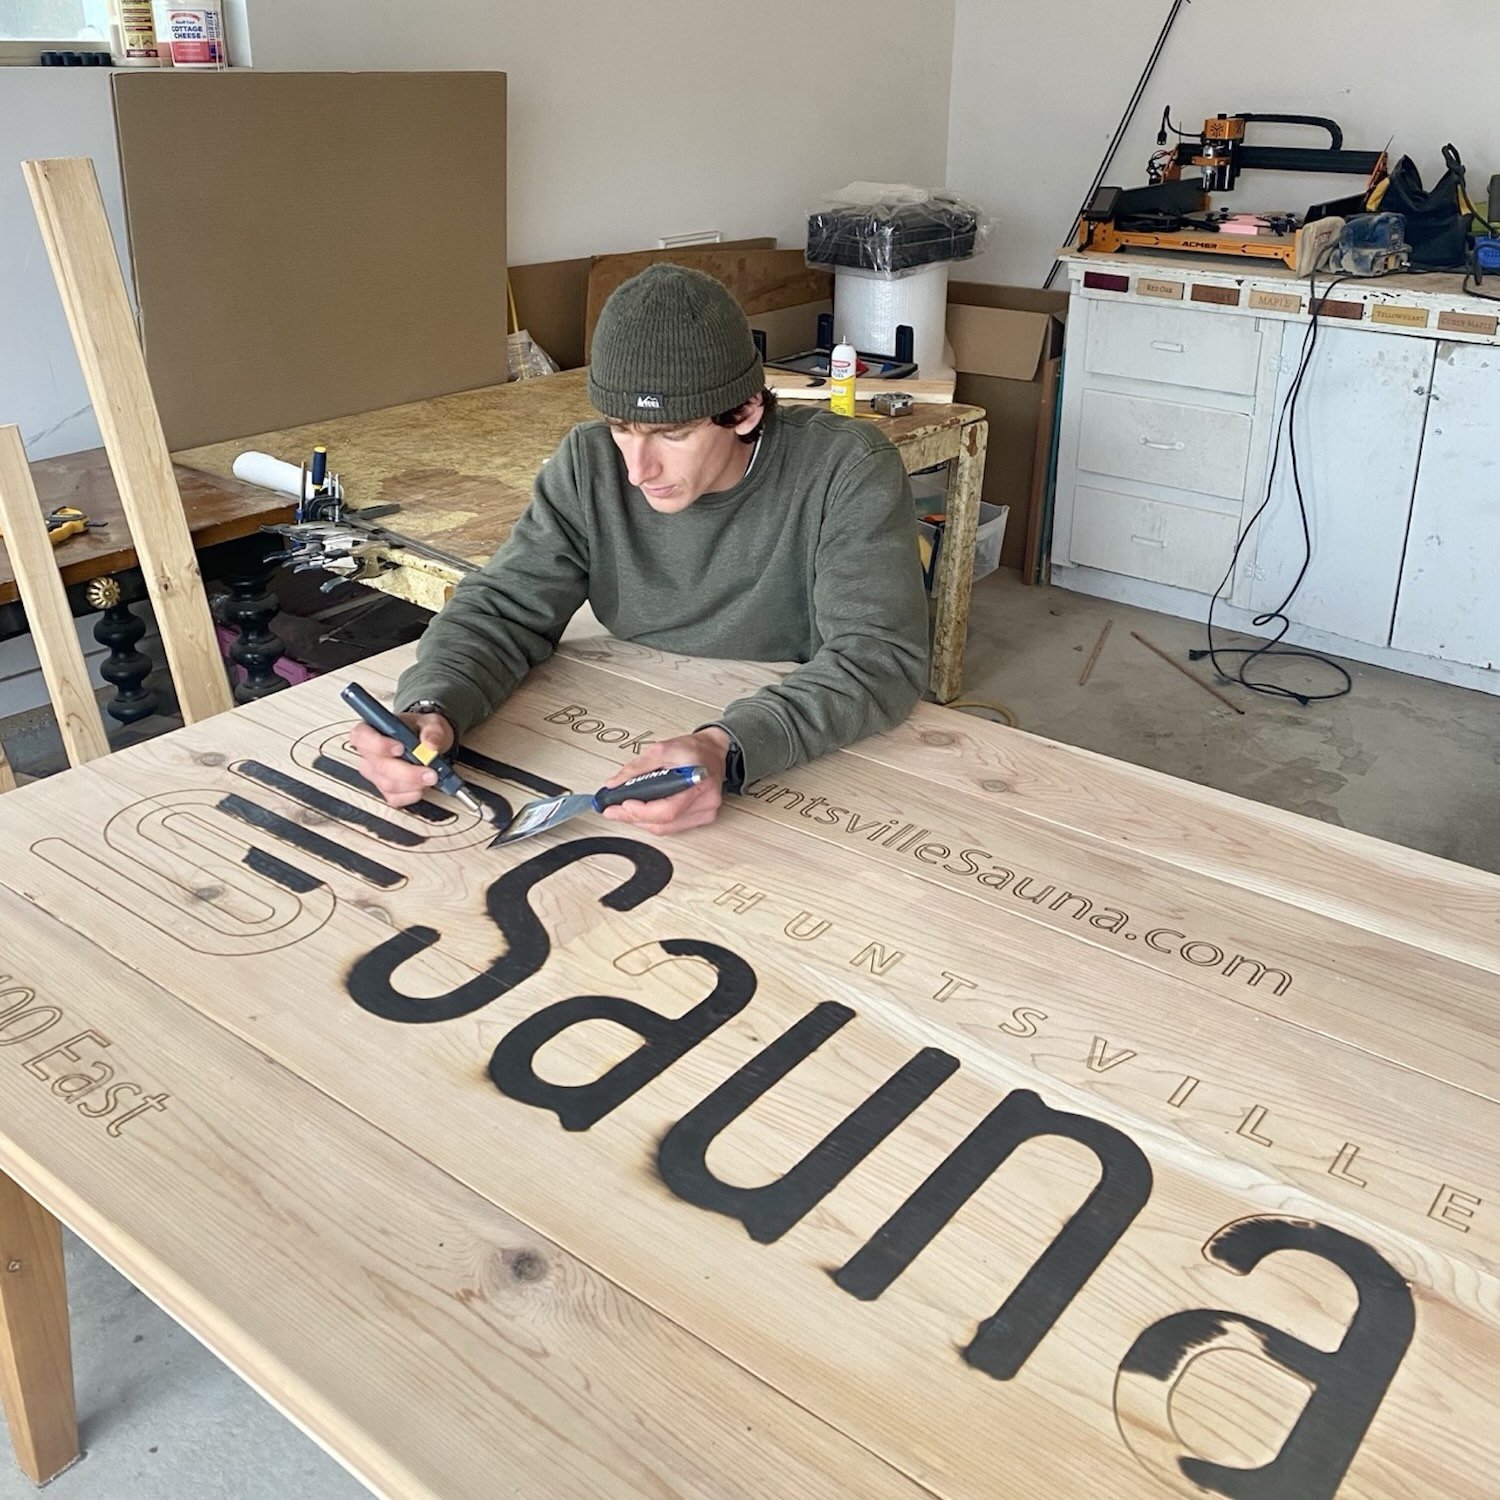
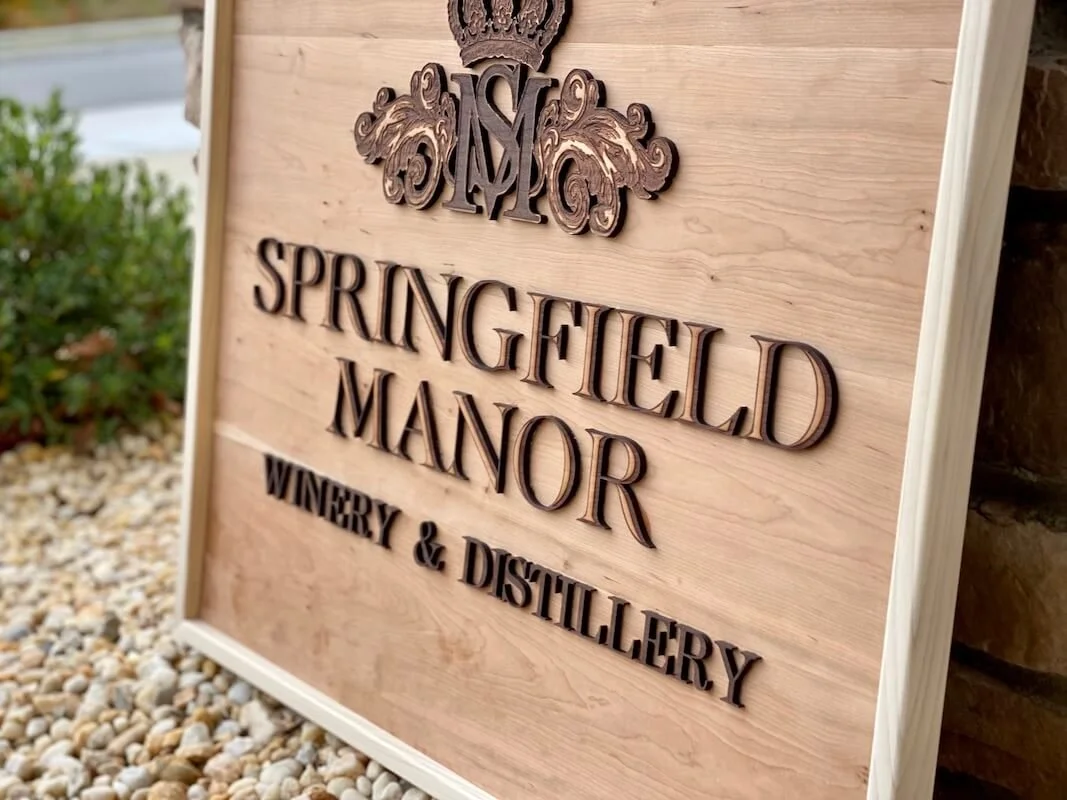
Professional custom wood sign builder Blade & Burnish work shop.
Building Your Sign: Construction & Lettering
Panel Preparation: If you’re edge-gluing boards to make a wider panel, use a waterproof wood glue and ensure the joint is tight and flat. Once your panel is ready, sand it thoroughly through the grits up to 150-220 for a smooth surface. This step is crucial for a professional-looking finish.
And remember that wood likes to warp, so take the time to Prevent Wood Warping and Swelling during the initial glue up.
Lettering Methods:
Painted Letters: This is the most accessible method. Use stencils or painter's tape to mask off areas, then apply exterior-grade paint. Multiple thin coats are better than one thick, drippy coat.
Routed/Carved Letters: Using a router with a guide or template creates deep, recessed letters. These pockets are then filled with paint, resulting in incredibly durable and crisp lettering that has a professional, carved feel.
Vinyl Lettering: Applying weather-resistant vinyl letters over a painted background is a quick, clean option. Ensure the sign's finish is fully cured first, and use a vinyl rated for outdoor use.
Raised Letters: Cut the letters out of a thin separate piece of wood (1/8”-1/2” thick), then glue or nail them to the face of the sign. Be sure to use a strong outdoor rated waterproof glue to ensure they hold for many years to come.
How to Weatherproof a Wood Sign for Outdoors
This is the most critical step for longevity. The goal is to create a protective barrier on every surface—front, back, edges, and especially the end grain. When done right, wood signs can last for 10-20+ years outdoors. Learn more.
Seal the End Grain First: The ends of wood boards are like straws, sucking up moisture. Apply an extra coat of primer or sealant here, or even use a wood stabilizer for maximum protection.
Choose the Right Finish System:
For a Clear or Stained Look: Use an exterior-grade spar urethane or marine varnish. These finishes are formulated with UV inhibitors and flex with wood movement. Apply 3-5 thin coats, sanding lightly between coats.
For a Painted Look: Start with an exterior wood primer. This is non-negotiable. It seals the wood and provides a stable base for your topcoat. Then, apply 2-3 coats of high-quality exterior paint (acrylic or enamel). For the best protection, consider a clear exterior topcoat over the dry paint.
Best Finish for Outdoor Wood Signs
While we touched on systems above, let's break down the top contenders:
Exterior Spar Urethane: A classic for a reason. Excellent UV and water resistance, with good flexibility. It can amber slightly over time, which can be desirable.
Marine Varnish: Similar to spar urethane, often with even higher solids content for a thicker, more durable film. Ideal for harsh, wet environments.
Exterior Water-Based Polyurethane: Dries clear and faster than oil-based options, with less odor. Look for brands specifically formulated for UV resistance.
Exterior Paint + Clear Topcoat: This two-part system offers the ultimate color retention and protection. The paint provides pigment, and the clear topcoat (like an exterior acrylic) takes the brunt of the UV exposure.
Regardless of your choice, application is key. Work in a dust-free environment, follow the manufacturer's recoat times, and never apply finish in direct sunlight or on damp wood. For a full in depth outline on wood finish, check out this article on The Ultimate Guide to the Best Finishes for Outdoor Wood Signs: Durability and Style
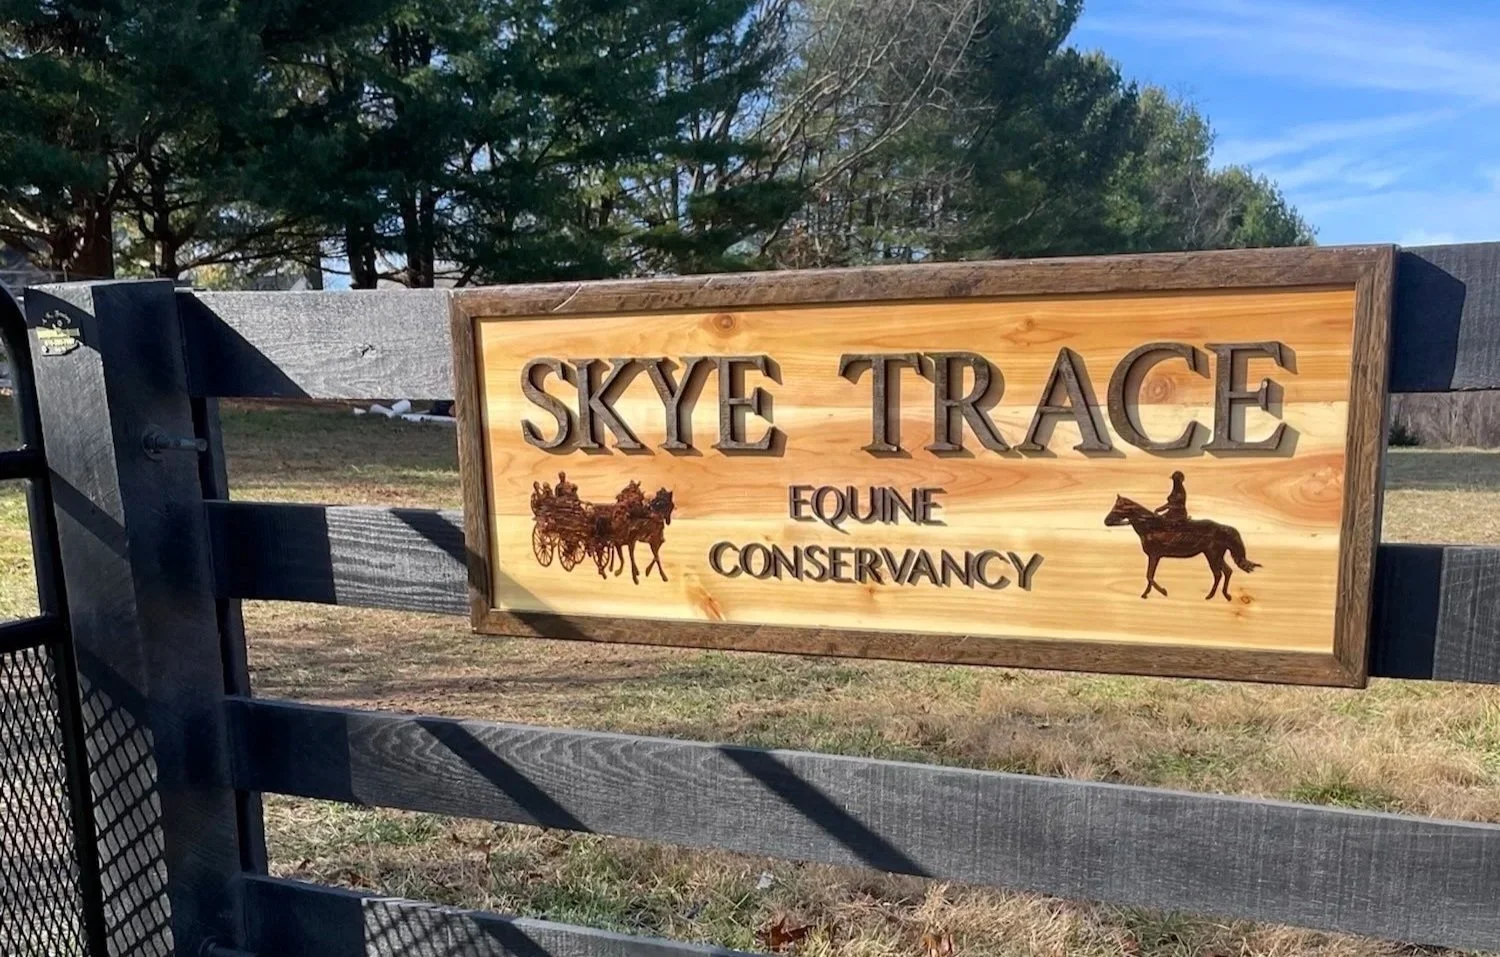
A custom made outdoor cedar and oak signs built by Blade & Burnish Wood Sign Co.
How to Install an Outdoor Wood Sign
A proper installation prevents physical stress and water damage.
Wall-Mounted Signs: Use corrosion-resistant screws (like stainless steel or coated deck screws). For siding or masonry, use appropriate anchors. A pro tip is to apply a dab of exterior-grade silicone caulk in the pilot hole before driving the screw to seal the penetration.
Post-Mounted Signs: Ensure posts are set deep enough in the ground (below the frost line in cold climates) and in concrete. The sign should be mounted with a slight forward tilt (about 5 degrees) to help shed rainwater and at least 8” off to ground to keep away bugs. Always use a level!
General Rule: Mount your sign where it has good air circulation and isn't directly in the path of lawn sprinklers or roof runoff.
Common Mistakes When Making Outdoor Wood Signs
Learning from others' missteps is the smartest DIY move you can make.
Skipping the Primer or Using Interior Finishes: Interior paints and sealants simply lack the additives to fight sun and rain. They will fail quickly.
Ignoring the Back and Edges: Sealing only the front is like wearing a raincoat that's open in the back. Moisture will enter from the unsealed sides and cause warping and rot from within. Be sure to focus a lot of attention on the end grain.
Fasting a hard rigid frame directly to the sign: Wood needs room to expand and contrasts throughout the seasons. Building a lock tight frame will eventually lead to cracking in the corners if it’s not done properly. Consider building a floating frame around the sign to prevent unwanting wood splits.
Using the Wrong Fasteners: Standard steel screws will rust, staining your wood and eventually failing. Always choose exterior-rated, corrosion-resistant hardware.
Mounting in a "Water Trap": Installing a sign where water pools against it or where it never dries out is a recipe for rapid decay.
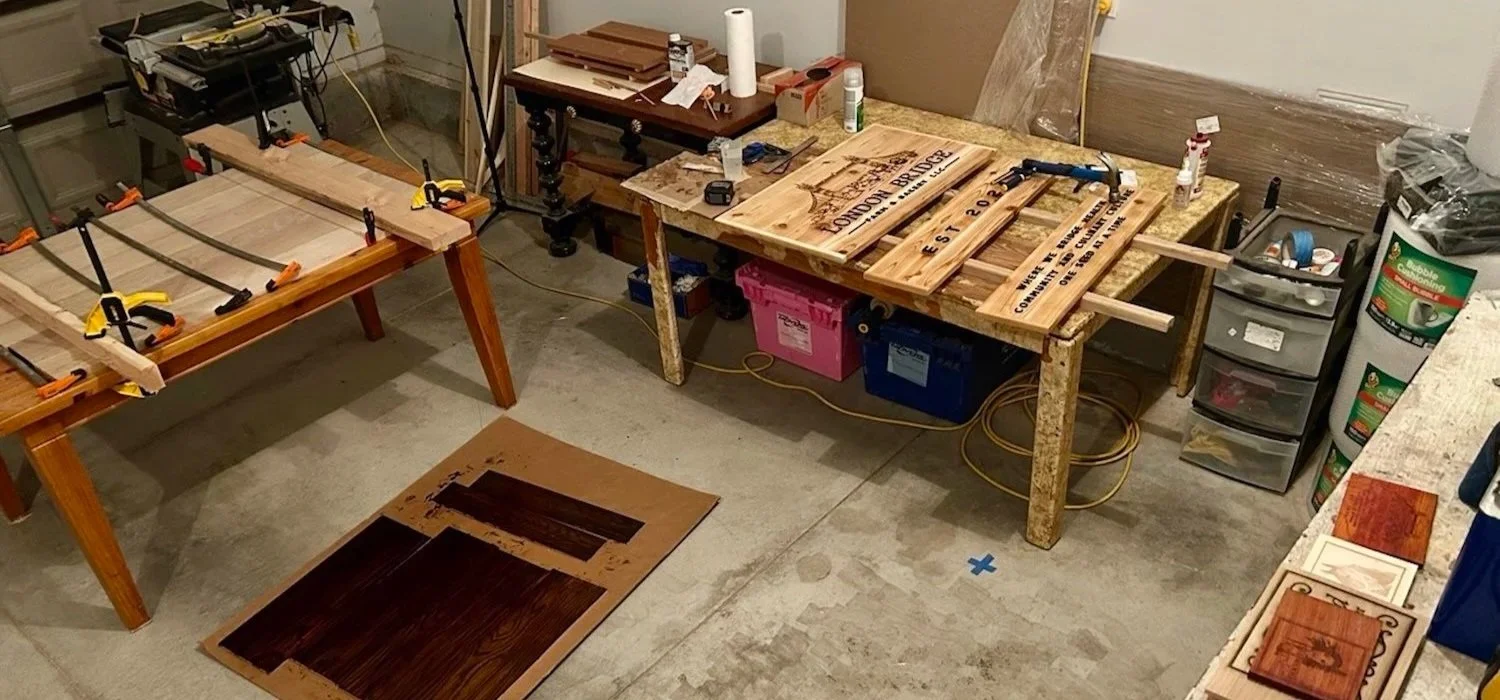
Blade & Burnish Wood Sign Co. builds custom handcrafted signs to order for businesses and homes.
DIY Outdoor Wood Sign vs Professional Custom Signs
So, when should you tackle the project yourself, and when is it worth calling in the pros?
DIY is a great choice when:
The sign is for personal use at your home.
You enjoy the process and the unique character of handmade items.
The sign is a manageable size and will be in a somewhat sheltered location.
Your budget is limited, and you already have some tools.
Investing in a professional custom sign makes sense when:
The sign is for your business—your brand image and durability are paramount.
You need a very large, complex, or intricately carved sign (think CNC-routed logos).
The sign will be in an extreme environment (e.g., direct coastal salt spray, high-wind areas).
You need multiple identical signs for consistency.
You want a long-term warranty on materials and craftsmanship.
For a free quote on your custom sign, inquiry with professional sign makers Blade & Burnish Wood Sign Co. here.
Professional sign makers have access to commercial-grade materials, industrial finishing processes, and engineering expertise that can guarantee a lifespan of 10-20 years or more with minimal maintenance.
Creating your own outdoor wood sign is an immensely rewarding project. By starting with a durable wood like cedar, designing for clarity, building with solid construction, and—most importantly—applying a robust, full-coverage exterior finish, you can create a piece that welcomes guests, promotes your business, or marks your space for years to come.
Remember, the secret to longevity isn't magic; it's mindful preparation at every step. So gather your materials, take your time, and build something worthy of the outdoors.