Preventing Wood Warping and Swelling: A Guide to Gluing Up Large Panels and Framing for Longevity
You’ve just spent hours crafting a gorgeous wooden tabletop or a statement wall panel. It’s smooth, flat, and flawless. But a month later, it looks like a potato chip—curled at the edges, cupped in the middle, and utterly unrecognizable. Sound familiar?
Wood warping is the ultimate buzzkill for woodworkers. But here’s the good news: It’s preventable. In this guide, we’ll dive into the science of wood movement, share battle-tested techniques for building stable panels, and even teach you how to fix warped projects. Let’s turn your frustration into flawless furniture.

Understanding Why Wood Warps and Swells
Wood is like a sponge with an attitude. Its hygroscopic nature means it constantly absorbs and releases moisture from the air, expanding when humid and shrinking when dry. But uneven swelling or shrinking? That’s when warping happens. Here’s what’s at play:
Moisture Changes: Wood stabilizes at equilibrium moisture content (EMC), matching its environment. If one side of a board dries faster than the other (say, near a heater), it’ll cup toward the dry side.
Cut Matters:
Flatsawn: Growth rings run parallel to the face. Prone to dramatic cupping.
Quartersawn: Growth rings are vertical. 2–3x more stable and resistant to warping (Wood Magazine).
Species Differences: Dense woods like oak swell more tangentially (along growth rings) than cedar or pine.
Pro Tip: Quartersawn white oak is the MVP for stability. Save flatsawn boards for small projects.
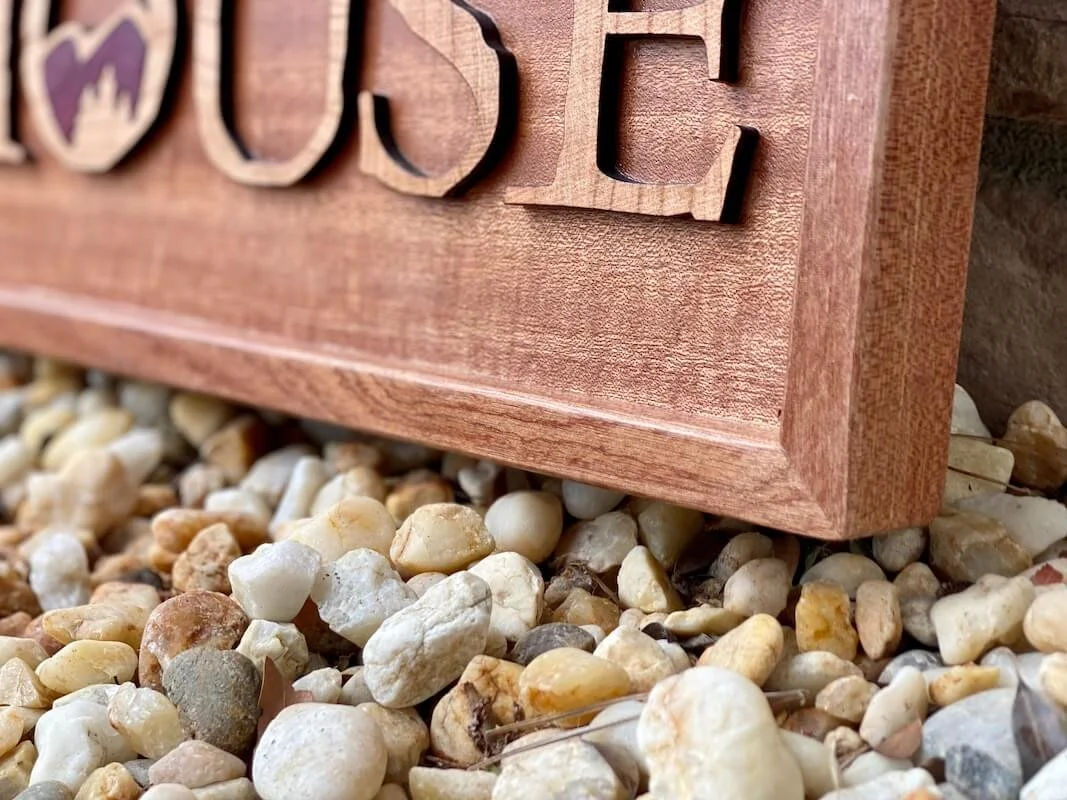
Building something for the outdoors? Check out this guide on What Wood is Best For Outdoor Signs.
Preparing Wood Boards for Glue-Up: Acclimation and Moisture Control
Before you even think about glue, your wood needs to chill—literally.
Acclimate Like a Pro:
Stack boards with ¾” spacers (stickers) for airflow.
Let them sit in your workspace for at least 72 hours. For large panels, wait a week.
Moisture Meters: Aim for 6–8% moisture content (indoor projects) or match your local EMC.
Avoid Sapwood: It’s spongier and warps faster. Stick to heartwood.
The Table Test: If your board rocks on a flat surface, it’s already warped. Move it to kindling duty.
Techniques for Gluing Up Large Wood Panels
Glue-ups are where warping wars are won or lost.
Board Orientation: Alternate growth rings in a “smile-frown-smile” pattern to balance tension.
Edge Jointing: Use a jointer or hand plane for seamless, square edges. Gaps = future cracks.
Glue Selection:
Indoor: PVA glue (e.g., Titebond III for light water resistance).
Outdoor: Polyurethane glue (Gorilla Glue) or epoxy. Then, pay close attention to What Finish To Use For Outdoor Wood.
Pro Tip: Clamp a sacrificial board at the ends to prevent “hungry board” misalignment.
Clamping Tips: Keeping Your Panel Flat During Glue-Up
Clamps are your best friends—if you use them right.
Alternate Clamp Positions: Place clamps above and below the panel to counteract bowing.
Cauls Are Magic: Use straight, waxed cauls (hardwood or aluminum) across the width to distribute pressure.
Don’t Over-Tighten: Glue should bead slightly—not gush out.
Watch Out: Over-clamping starves joints of glue. Think “snug,” not “Hulk smash.”
Adding a Wood Frame: Allowing for Expansion and Contraction
Frames aren’t just pretty—they’re functional. Check out some examples of Handcrafted Wood Frames.
| Joinery Method | Best For | Movement Allowance |
|---|---|---|
| Tongue-and-Groove | Doors, panels | 1/8" gap per 12" width |
| Coped Stub Tenons | Cabinetry | Minimal, but flexible |
| Floating Clips | Large panels | Full seasonal movement |
| Golden Rule: Never glue a panel cross-grain to its frame. It's a recipe for cracks. | ||
Mounting and Displaying Your Panel for Long-Term Stability
Even perfect panels fail if mounted poorly.
Location:
Avoid direct sunlight (UV = uneven drying).
Keep away from HVAC vents or radiators.
Hardware: Use slotted brackets or oversized screw holes for movement.
Humidity Control: Aim for 30–55% RH. A $20 hygrometer is your new best friend.
Pro Tip: For gallery walls, leave a ¼” gap between panels and the wall for airflow.
Common Problems and How to Fix Them
Problem: Your panel warped post-glue-up.
Fix: 1. Lay it concave-side-up on damp towels for 24 hours.
2. Clamp flat with cauls until dry.
Problem: Frame cracked.
Fix: 1. Drill out damaged joints.
2. Insert splines or epoxy filler.
Problem: Gaps in dry weather.
Fix: Fill with color-matched silicone caulk—it flexes with the seasons.
Frequently Asked Questions About Wood Movement and Panel Construction
Q: How long should I acclimate wood in humid climates?
A: At least 7–10 days. Use a dehumidifier if your shop feels like a sauna.
Q: Can I use plywood instead of solid wood?
A: Yes! Plywood’s cross-grain layers resist warping. Opt for Baltic birch for edges.
Q: What’s the best finish to prevent swelling?
A: Oil-based polyurethane or epoxy resin seals pores effectively. Learn more about outdoor finishes.
Q: Why did my frame split after one winter?
A: You likely glued the panel cross-grain. Switch to floating clips or splines.
Key Takeaways
Wood Moves: Design for it, fight it, and you’ll lose.
Acclimate Religiously: Your moisture meter is worth its weight in gold.
Clamp Smart: Cauls and patience beat brute force.
Armed with these tips, you’re ready to build panels that stay flat, frames that stay intact, and projects that outlast the trends. Now go make something that’ll last generations—not just until next summer.
Got a warping horror story or a pro tip? Share it in the comments below!
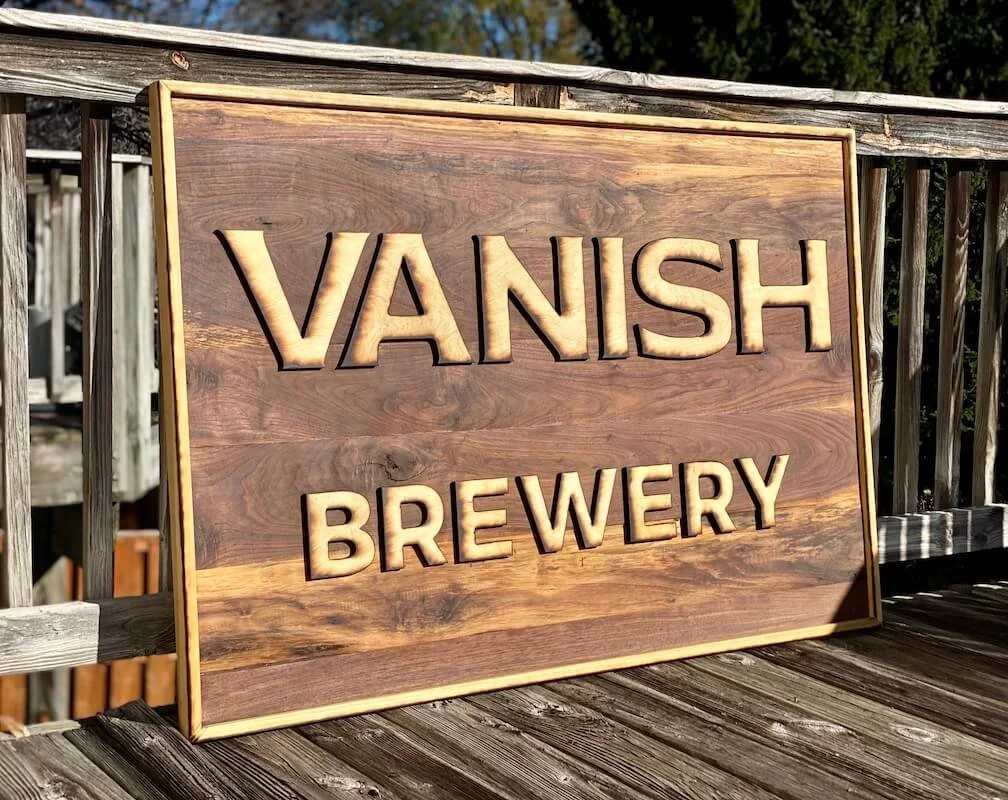
Gluing up a panel for a custom wood sign? Check out these resources:
How to Choose The Perfect Wood Species for Your Custom Sign