The Complete Guide to Floating Frames: Transforming Art and Woodworking

When it comes to displaying artwork or creating beautiful wood signs, the right frame doesn't just complete the look—it can completely transform how we perceive the piece. Enter floating frames, one of the most captivating trends in both home decor and woodworking today. But what exactly are these frames, and why have they become the go-to choice for everyone from professional gallery curators to DIY woodworkers? Whether you're an artist looking to showcase your latest canvas, a homeowner seeking that perfect minimalist aesthetic, or a woodworker tackling the challenge of seasonal wood movement, this comprehensive guide will walk you through everything you need to know about these versatile frames.
What Are Floating Frames?
Let's start with the basics. A floating frame is a special type of frame designed to create the illusion that your artwork or object is suspended within the frame's boundaries. Instead of pressing tight against the art like traditional frames, floating frames maintain a deliberate gap or space between the edge of the piece and the frame itself. This "moat" effect adds depth, dimension, and a distinctly contemporary feel to whatever you're displaying .
You'll encounter floating frames in two primary contexts, each with its own unique approach:
For canvas art, floater frames are specifically designed to cradle stretched canvases from behind, leaving the entire front surface visible while maintaining a uniform gap around all edges. This allows viewers to appreciate the artwork from every angle, including the painted edges that are often part of the composition on gallery-wrapped canvases .
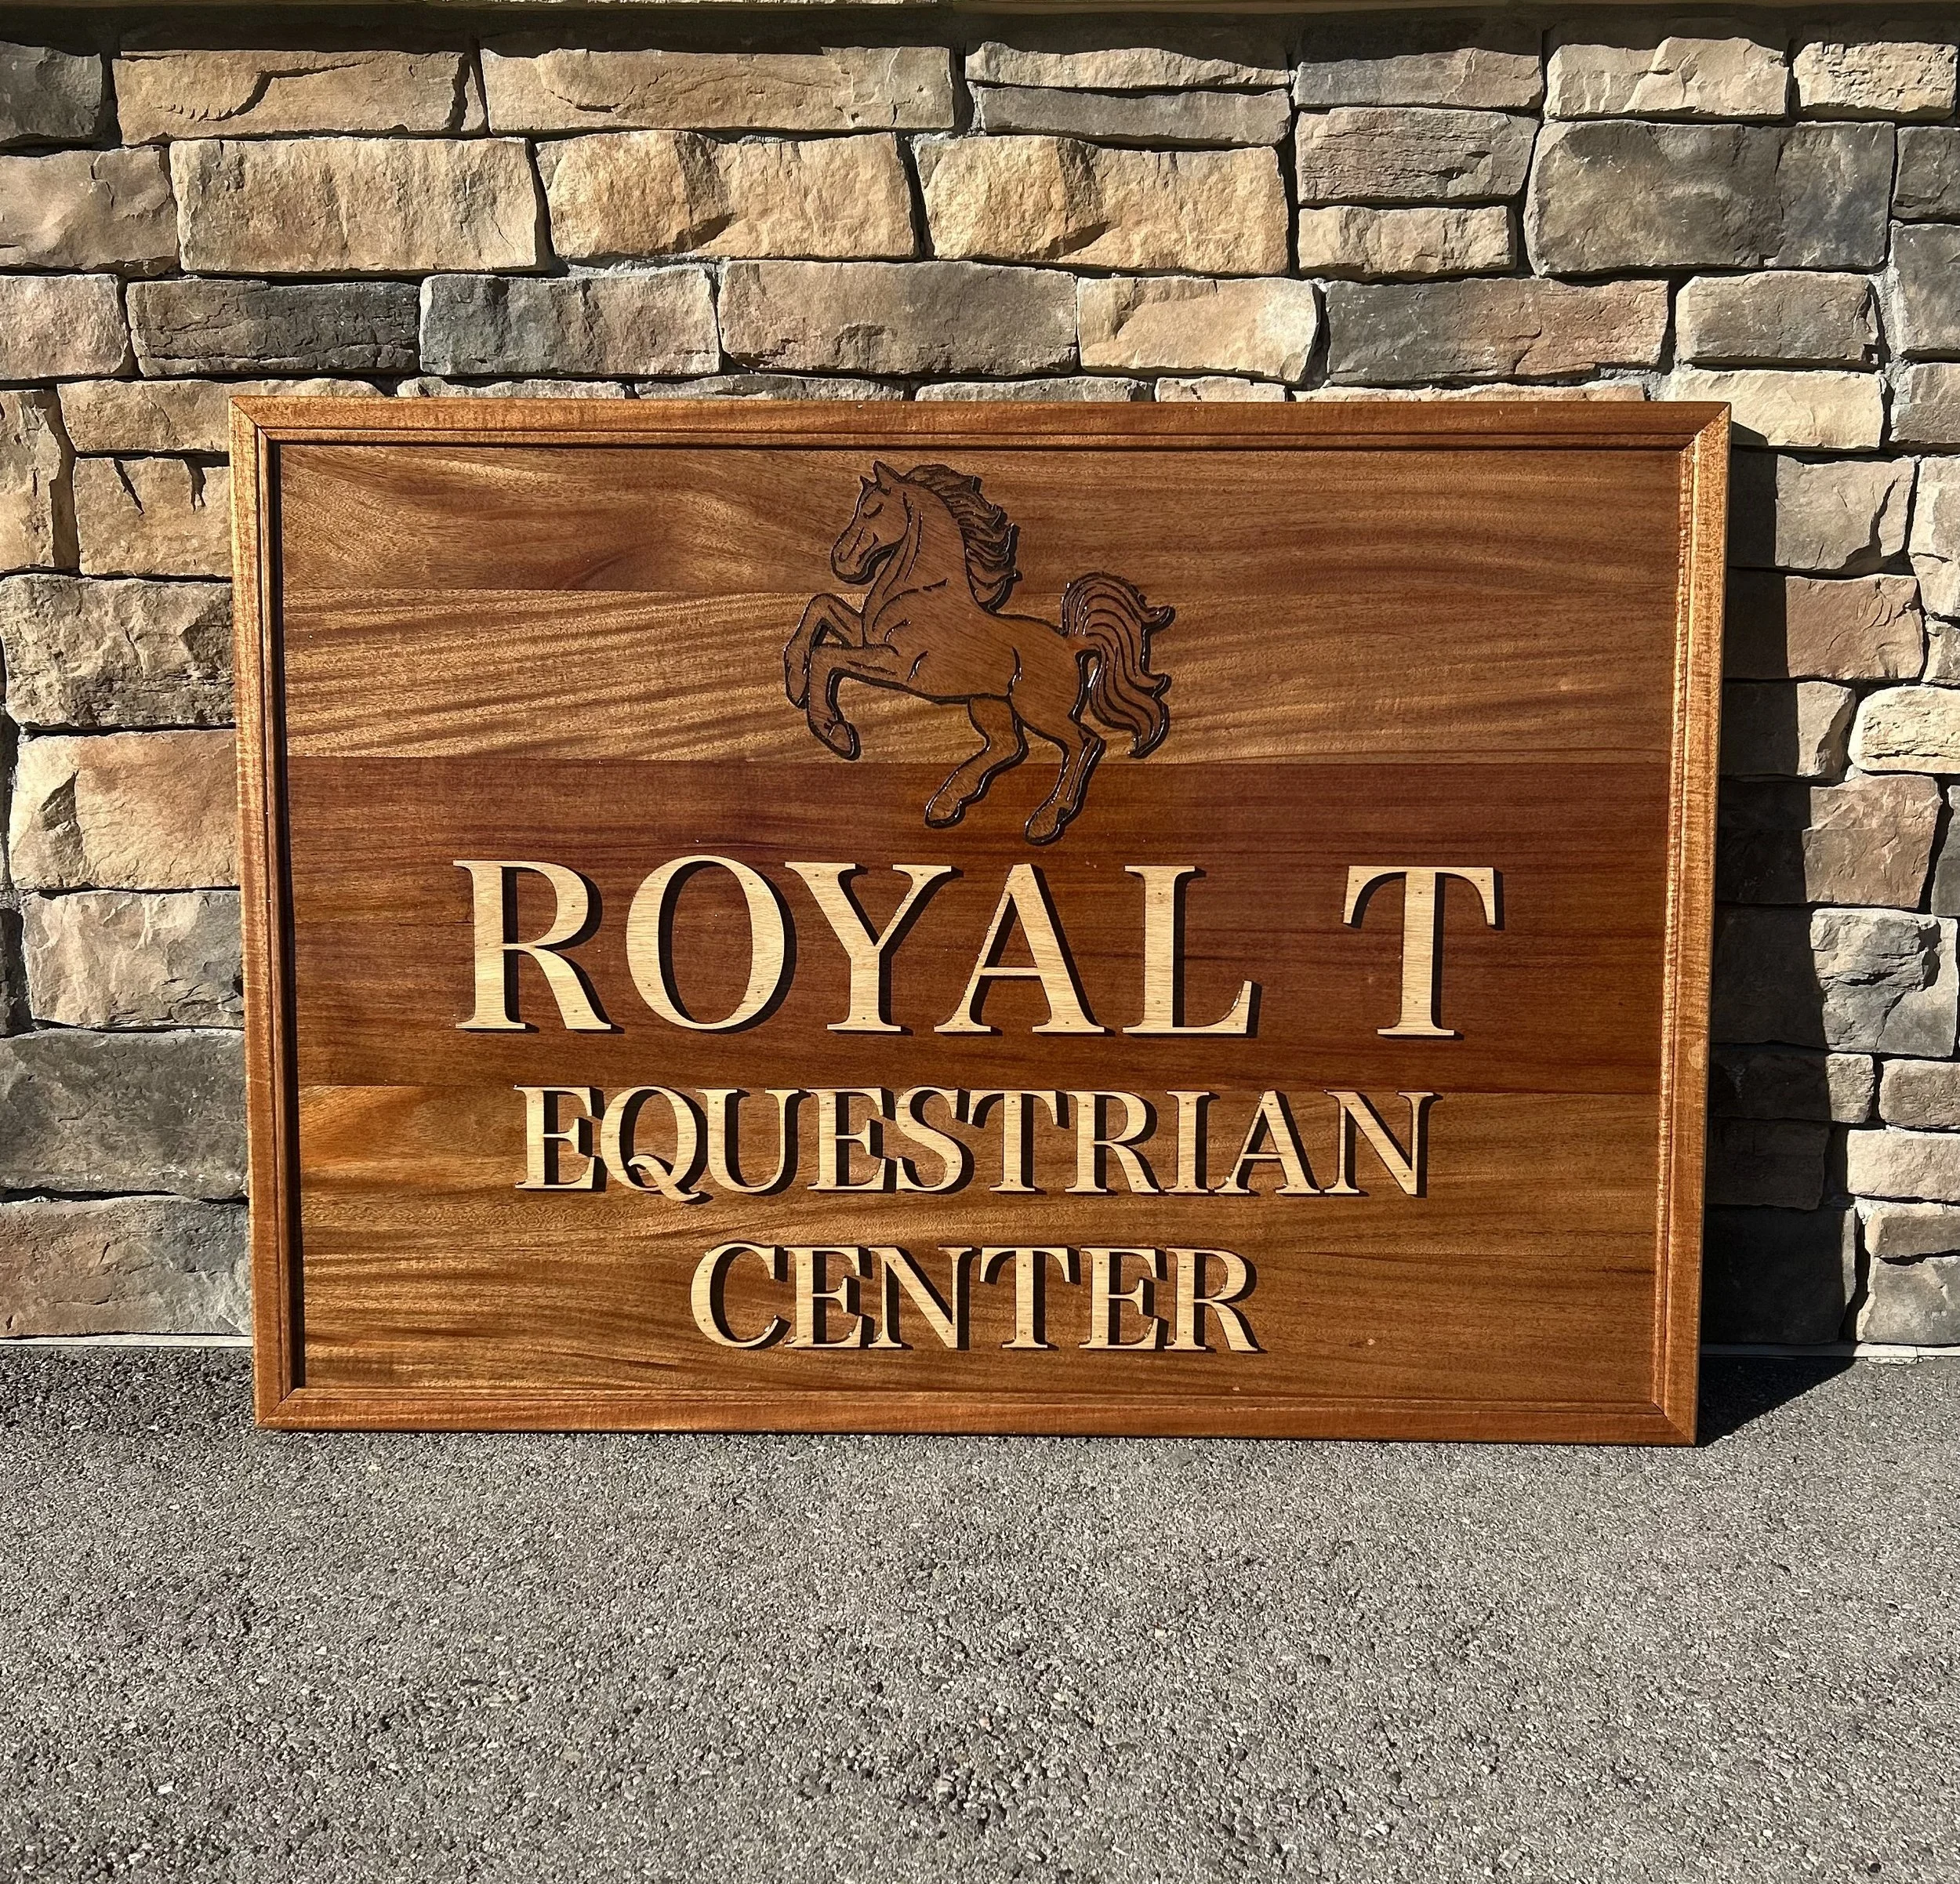
In woodworking, floating frames serve a different but equally important purpose. They allow a wood panel or sign to move slightly within the frame, accommodating the natural expansion and contraction that occurs with changes in temperature and humidity throughout the seasons. This technical consideration makes them essential for preserving the integrity of wood pieces over time.
Why Choose Floating Frames?
Aesthetic Appeal and Modern Flair
There's no denying the visual impact of a well-chosen floating frame. The deliberate space between the art and the frame creates depth and dimension that draws the eye inward, making the artwork appear to hover mysteriously within its confines. This three-dimensional quality adds a layer of sophistication that flat, traditional frames simply can't match .
The floating effect is particularly effective at highlighting the artwork without competing for attention. Unlike ornate traditional frames that can sometimes overwhelm the piece they're meant to enhance, floating frames offer a minimalist, unobtrusive border that keeps the focus exactly where it belongs—on your art . This clean, contemporary look has made them a favorite among interior designers and gallery professionals alike.
Practical Benefits Beyond Beauty
Beyond their good looks, floating frames offer several practical advantages:
First, they provide excellent protection for your artwork. By maintaining space between the canvas and frame, they prevent damage to the corners and edges that can occur when surfaces rub against each other over time . This protective quality is especially valuable for valuable or sentimental pieces.
Their versatility is another significant advantage. Floating frames complement a wide range of art styles, from bold abstracts to delicate photography, and can integrate seamlessly into various interior design themes. Whether your home decor is modern industrial, mid-century, or even traditionally eclectic, there's likely a floating frame that will fit right in.
Perhaps most importantly for certain applications, floating frames solve the technical challenge of wood movement. For woodworkers creating signs or panel art, the frame's ability to accommodate seasonal expansion and contraction prevents the cracking and warping that can ruin a carefully crafted piece
.
Floating Frames for Canvases: Gallery-Style Display
How Floater Frames Work With Canvases
When working with stretched canvas art, floating frames employ a specific mounting technique that differs significantly from traditional framing. Rather than overlapping the front of the canvas like conventional frames, floater frames are designed to attach from the back. The canvas rests securely within the frame while maintaining that signature uniform gap—typically around 1/4 inch—between its edges and the frame's interior .
This design allows the entire surface of the canvas, including the sides, to remain completely visible. For gallery-wrapped canvases where the artwork continues around the edges, this is particularly important as it preserves the artist's intended presentation. The technical execution involves securing the back of the stretched canvas to the frame moulding using screws inserted through pre-drilled holes in the frame into the canvas stretcher bars .
Achieving the Perfect Fit
Getting the right fit is crucial for a professional-looking result. Before selecting your float frame, you'll need to measure both the dimensions and the depth of your canvas . Float frames come in various depths, so you'll want to choose one with an appropriate "rabbet" depth (the inner ledge where the canvas rests) to properly accommodate your canvas.
It's also important to account for the canvas folds—the areas where the canvas material wraps around the stretcher bars. These folds can add up to 1/4 inch to the overall dimensions, so measuring the stretcher bars alone might result in a frame that's too small .
Comparison: Floating Frames vs. Regular Frames for Canvases
To help you understand the key differences at a glance, here's a comparison between floating frames and regular frames when used with canvas art:
| Feature | Floating Frames | Regular Frames |
|---|---|---|
| Visual Effect | Creates illusion of art "floating" with visible gap | Traditional enclosed look with lip overlapping art |
| Installation | Canvas mounted from the front, secured from back | Artwork mounted from the back of the frame |
| Edge Visibility | Complete edge visibility, ideal for gallery-wrapped canvases | Edges obscured by frame lip |
| Style Association | Modern, contemporary, minimalist | Classic, traditional, versatile |
| Protection | Protects edges by preventing contact with frame | UV-protected acrylic options available for added protection |
| Customization | Various wood tones, metals, and finishes; often customizable online | Highly customizable with matting options and frame finishes |
| Best For | Large prints, canvas-based images, minimalist decor | Traditional presentations, added protection through matting |
Step-by-Step: Framing Your Canvas with a Floating Frame
Installing your canvas in a floating frame is a straightforward process that you can easily handle at home. Here's a basic overview:
Prepare your workspace: Find a clean, flat surface and lay out your artwork, floater frame, and necessary tools including a Phillips head screwdriver and some temporary spacers (business cards or canvas keys work perfectly) .
Position the canvas: Place your float frame face up and carefully insert your stretched canvas inside. Use the temporary spacers between the canvas and frame to ensure even spacing around all edges .
Secure the canvas: While holding the canvas firmly against the back of the frame, use your screwdriver to insert the provided screws through the pre-drilled holes on the frame and into the stretcher bars of the canvas. Tighten securely but don't over-tighten .
Add hanging hardware: Depending on the size and weight of your piece, attach either wire hangers or a sawtooth hanger to the back of the frame using the provided hardware .
Apply wall protectors: Peel the backing off the wall protectors and affix them to the bottom corners on the back of the frame to prevent wall damage and ensure even hanging .
That's it! Your canvas is now beautifully framed and ready to display with a professional, gallery-worthy presentation.
A Woodworker's Guide to Floating Frames
Understanding Wood Movement: The Why Behind Floating Frames
If you work with wood, you know it's a living material that continues to respond to its environment long after it's been cut and finished. Wood naturally expands and contracts with seasonal changes in temperature and humidity, and this movement isn't trivial—it can be significant enough to crack frames or destroy joints if not properly accommodated .
This expansion occurs primarily across the grain rather than along its length, which is particularly important to remember when framing panels. Different wood species move at different rates, with some being much more stable than others. For example, according to wood movement data, Beech (American) has a radial shrinkage rate of 5.5% and tangential rate of 11.9%, while Oak (White) shows 5.6% radial and 10.5% tangential shrinkage .
Designing Floating Frames for Wood Panels
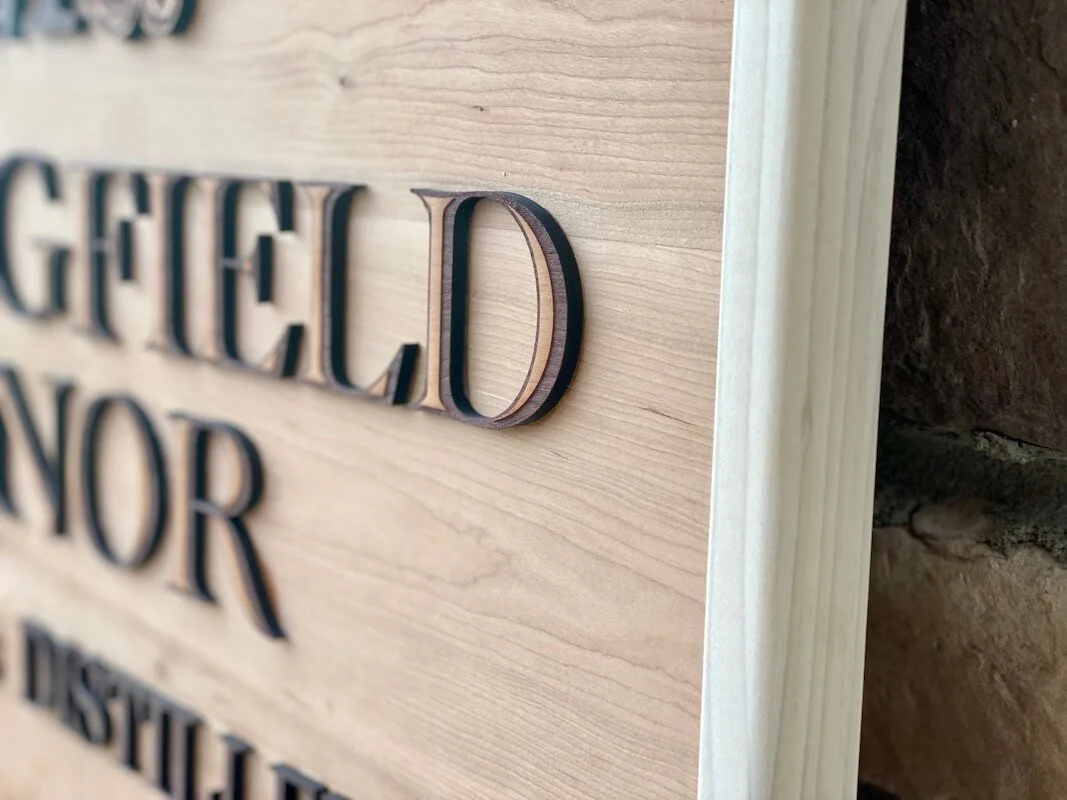
Creating effective floating frames for wood panels involves specific joinery techniques that allow for controlled movement:
The most common approach uses a centered dado (a groove cut across the wood grain) in the frame rails. This dado creates a channel that holds the wood panel while allowing it room to expand and contract. The panel is typically secured only on one edge (usually the top, assuming the grain runs horizontally), which anchors it in place while allowing the other three sides to move freely within their channels .
It's crucial to leave an appropriate gap—typically about 1/8 inch—between the panel and the frame on the three unsecured sides. This might seem like a small detail, but that tiny space makes all the difference in preventing seasonal damage to your wood pieces.
Reinforcement: Mitered Corners with Splines
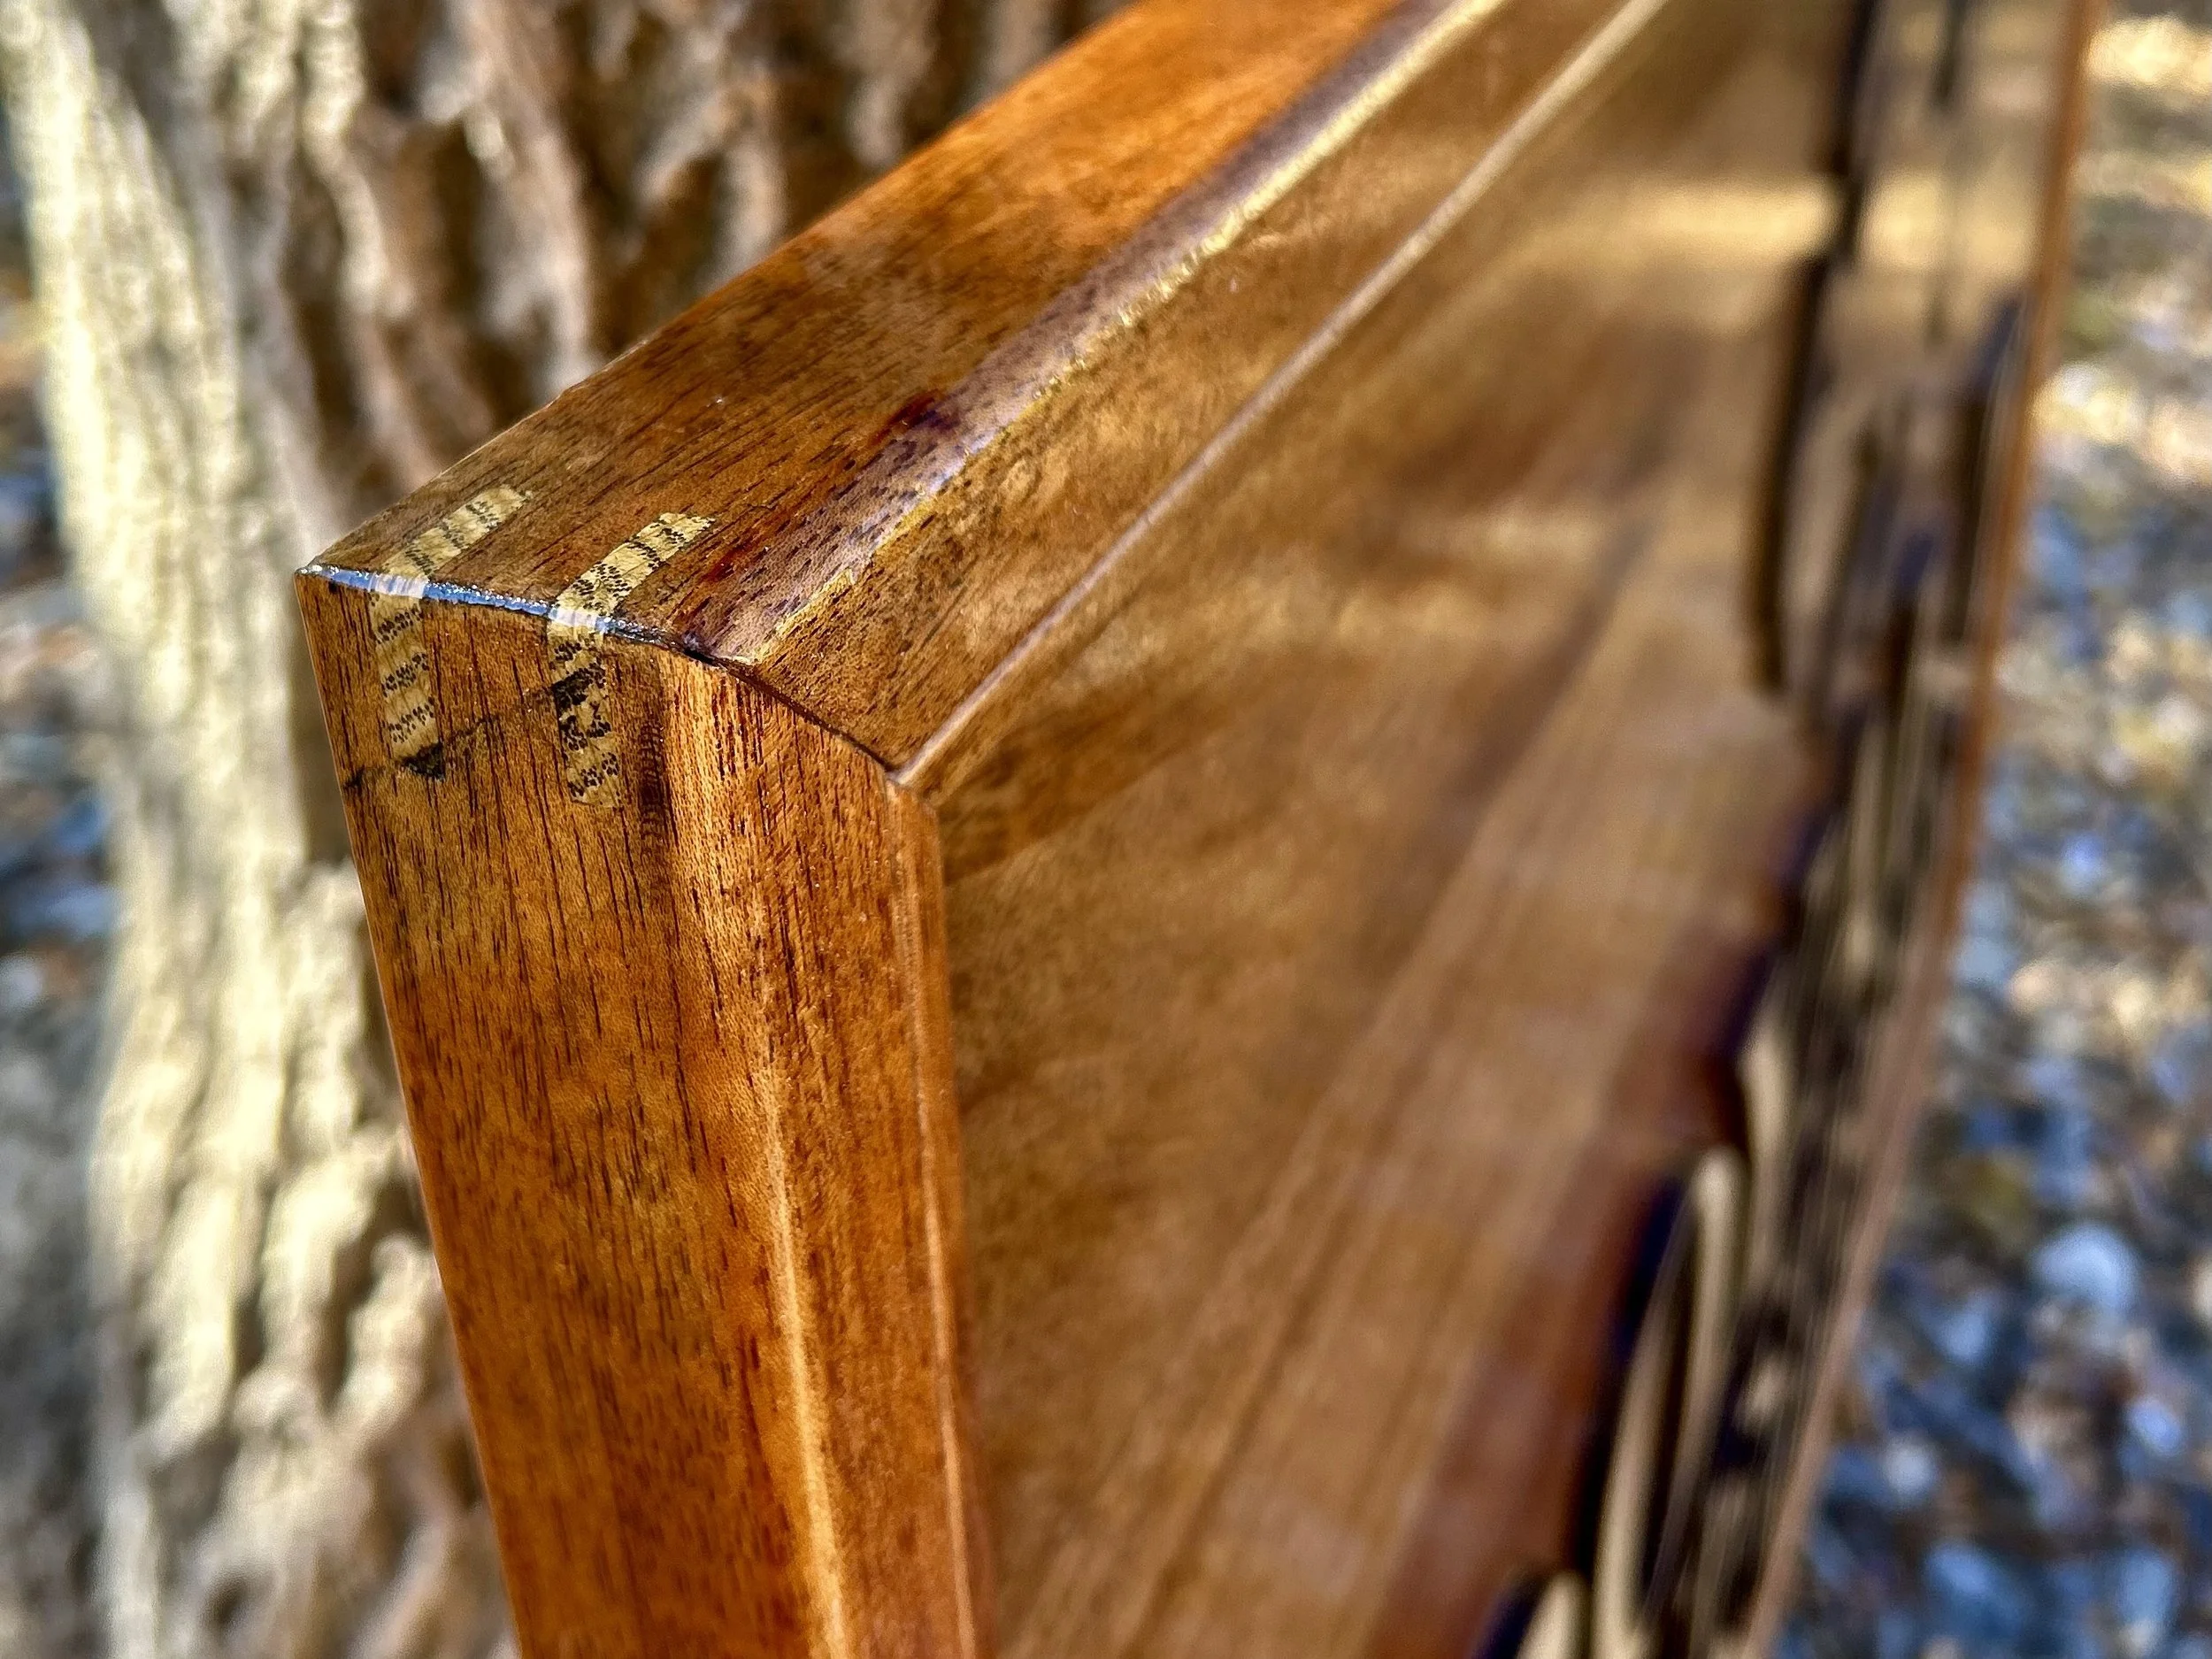
Since floating frames can't rely on the panel for structural stability, reinforcing the corners becomes especially important. Mitered corners with splines offer an excellent solution that combines strength with visual appeal .
Splines are thin pieces of wood inserted into slots cut across mitered joints. They significantly increase the glue surface area, creating a much stronger connection than simple mitered joints alone. Beyond their structural benefits, splines also offer an opportunity for decorative touches—using contrasting wood for the splines can add subtle visual interest to your frames.
Curious about other wood specie options? Check out This Guide on Choosing the Right Wood Type.
Step-by-Step: Building a Floating Frame for Wood Panels
Ready to dive into creating your own floating frame? It's one of those woodworking projects that looks incredibly professional but is totally achievable with some patience and attention to detail. Let me walk you through my process—the same one I've refined through building dozens of these frames for my own wood panels and signs.
Gathering Your Materials and Tools
Before we start cutting, make sure you've got everything you need:
Frame stock: I recommend starting with 1.5"x1.5" stock—it's substantial enough to make a statement but not overwhelming
Wood panel: Your main artwork or sign
Router with straight bit or table saw for dados
Miter saw for perfect 45-degree angles
Corner clamps or ratchet strap clamps
Wood glue, finish of your choice, and wood wax
The Step-by-Step Process
Step 1: Cutting and Preparing Frame Rails
Begin by cutting your frame stock to size. The 1.5"x1.5" dimension gives you plenty of material to work with while maintaining that substantial, quality look. Once cut, it's time to create the crucial dado channel that makes the floating effect possible.
If you’re unsure what wood type to use, this guide on What Wood is Best for Outdoor Signs could help.
Using either a router with a straight bit or a table saw, cut a centered dado along the inner edge of each rail. Aim for a channel that's exactly the width of your wood panel's thickness and about half the depth of your frame rail—in this case, around 0.75" deep. This depth provides ample room for movement while maintaining structural integrity.
Step 2: The Crucial Pre-Finishing Step
Here's a pro tip that'll save you frustration later: before assembly, apply your oil or water-based finish to the inside of the dado channels on the three sides that will be floating. Why? Because once assembled, these areas become completely inaccessible. The only exception is the top rail's channel—leave that raw since you'll be gluing it to the panel.
While you're at it, lightly wax the inside of these three dado channels. This simple step reduces friction and makes seasonal wood movement much smoother, preventing potential sticking or binding as the wood expands and contracts.
Step 3: Precision Cutting and Assembly
Now for the satisfying part—bringing it all together. Cut your corners at precise 45-degree angles, starting with the top rail as your anchor point. Measure and cut each subsequent piece individually, accounting for that crucial 1/8" gap between the panel and the inside wall of the dado channels on all three floating sides.
When everything fits perfectly, apply wood glue and assemble using corner clamps or ratchet strap clamps. The glue should only be in the dado channel of the top rail (or whichever anchor side), and then also on the four mitered corners. Let the assembly dry completely—overnight is ideal for maximum strength.
Step 4: Reinforcing and Final Touches
Once your frame is dry, it's time to reinforce those mitered corners. I use splines for this—they transform weak miter joints into incredibly strong connections. You can use a dedicated spline jig or even a biscuit cutter to create the slots.
After the splines are glued in place and dried, sand everything smooth. Now apply your final finish to the entire frame, taking care to work the finish into any remaining raw areas. If your art is going to be outdoors, consider checking out this guide on The Best Finishes to Use for Outdoor Wood Signs.
Why This Process Works
The beauty of this method lies in how it respects wood's natural tendencies. By securing only the top edge and leaving the other three sides floating with that 1/8" gap, you're creating a system that accommodates seasonal movement without stressing the joints or risking cracks in your beautiful wood panel.
The result? A professional-looking frame that not only showcases your wood panel beautifully but actually protects it for years to come. There's something deeply satisfying about creating a frame that works with nature rather than fighting against it.
Remember: Woodworking is as much about patience as it is about skill. Take your time with each step, double-check your measurements, and don't rush the drying times. Your finished floating frame will thank you with years of beautiful service.
Sustainability Considerations
As environmental consciousness continues to grow across all consumer categories, framing is no exception. Many manufacturers now offer floating frames made from sustainable materials like reclaimed wood, bamboo, and recycled composites . These eco-friendly options allow consumers to reduce their environmental footprint while still enjoying stylish home decor—a combination that's increasingly important to today's mindful shoppers.
Conclusion: Finding the Perfect Frame for Your Needs
Whether you're framing a precious canvas, building a custom wood sign, or simply looking for a fresh way to display your favorite pieces, floating frames offer a versatile and stylish solution that bridges the gap between form and function. Their ability to create depth, protect artwork, accommodate material movement, and enhance virtually any style makes them one of the most valuable tools in both the artist's and woodworker's toolkit.
As you consider framing options for your next project, remember that the right choice depends on your specific needs. For canvas art with finished edges, gallery-wrapped pieces, or a modern minimalist aesthetic, floating frames are often the perfect choice. For traditional presentations, pieces requiring matting, or when added UV protection is a priority, regular frames might be more appropriate.
