From Pyrography to Precision: How a Custom Branding Iron Elevated My Workflow
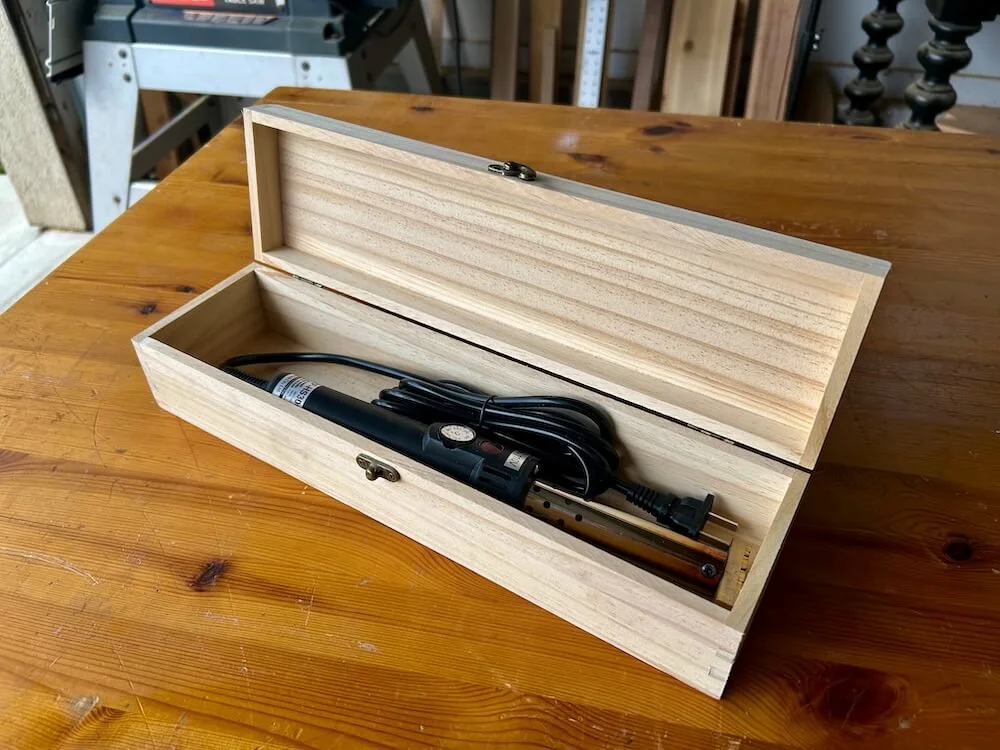
There’s something deeply satisfying about finishing a piece of woodwork with a signature. It’s the final mark that says, this was made with intention. For years, I’ve been signing the back of every piece using a pyrography pen—slow, deliberate, and personal.
But as my workflow scaled and orders increased, I started running into a problem: consistency and efficiency.
That’s where a custom branding iron came in—and it ended up changing more than just my process.
The Problem with Doing Everything by Hand
If you’ve ever used a pyrography pen, you know it’s equal parts art and patience. Every line is hand-drawn, every burn depends on your pressure, speed, and angle. That’s part of the charm—but it also introduces variability.
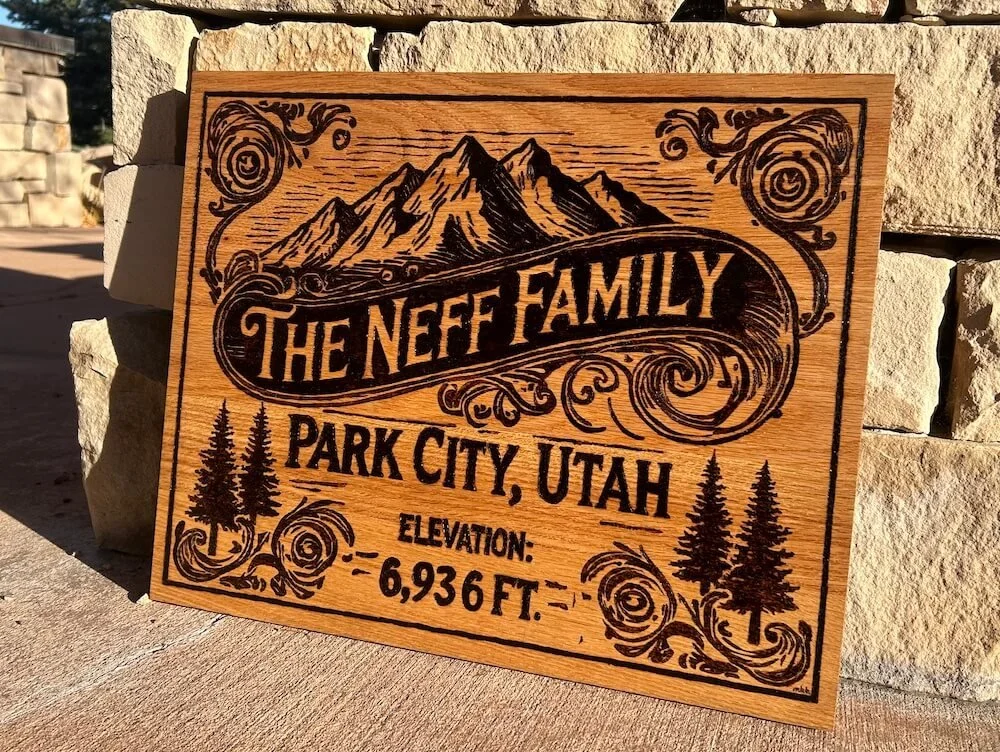
When I’m working on high-end custom pieces, especially custom wood signs, consistency matters just as much as craftsmanship.
A few challenges I kept running into:
Slight inconsistencies in lettering thickness
Variations in burn depth depending on wood density
Time-consuming repetition across multiple pieces
Hand fatigue during longer sessions
Pyrography still has its place—it’s unmatched for artistic, freeform work. But for a clean, repeatable logo mark? It started to feel like the wrong tool for the job.
Enter the Branding Iron
I partnered with Artizanix to create a custom branding iron based on my logo, and right out of the box, I could tell this was a different level of precision.
The kit itself was thoughtfully put together. Clean machining, solid materials, and a professional feel overall. This wasn’t a novelty tool—it was clearly designed for real, repeat use.
One of the biggest advantages? There are actually two ways to use it.
Two Heating Methods, Two Different Workflows
One of the things I appreciate most is the flexibility in how the branding iron can be used. Depending on your setup and workflow, you’ve got two solid options:
1. Torch Heating (Traditional Method)
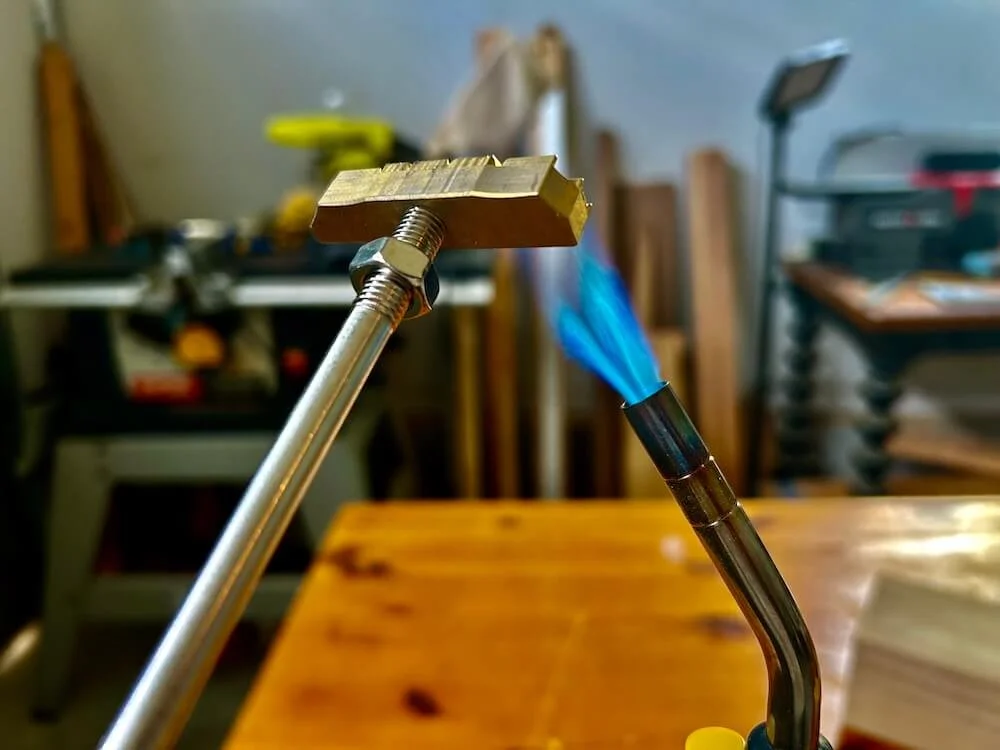
This is the classic approach—heat the metal using a blowtorch and apply it directly to the wood.
Pros:
No cords or outlets needed
Great for workshop or outdoor use
Heats up quickly
Cons:
Requires a bit of practice to dial in temperature
Heat consistency can vary
Slightly less controlled for repeat branding
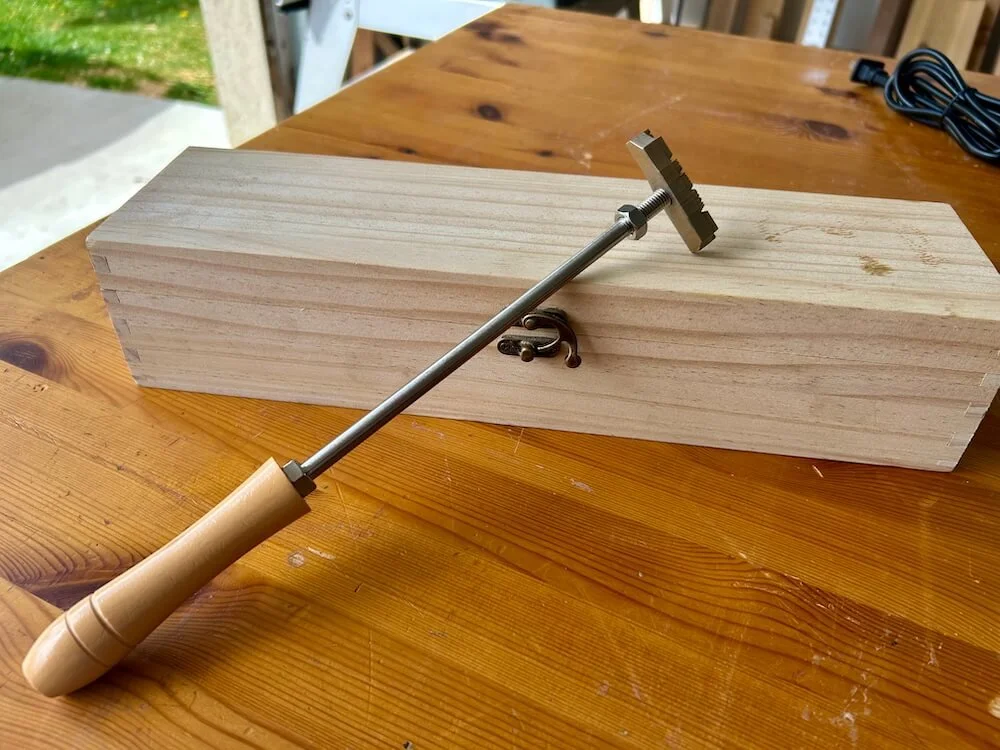
2. Electric Heating (Plug-In Precision)
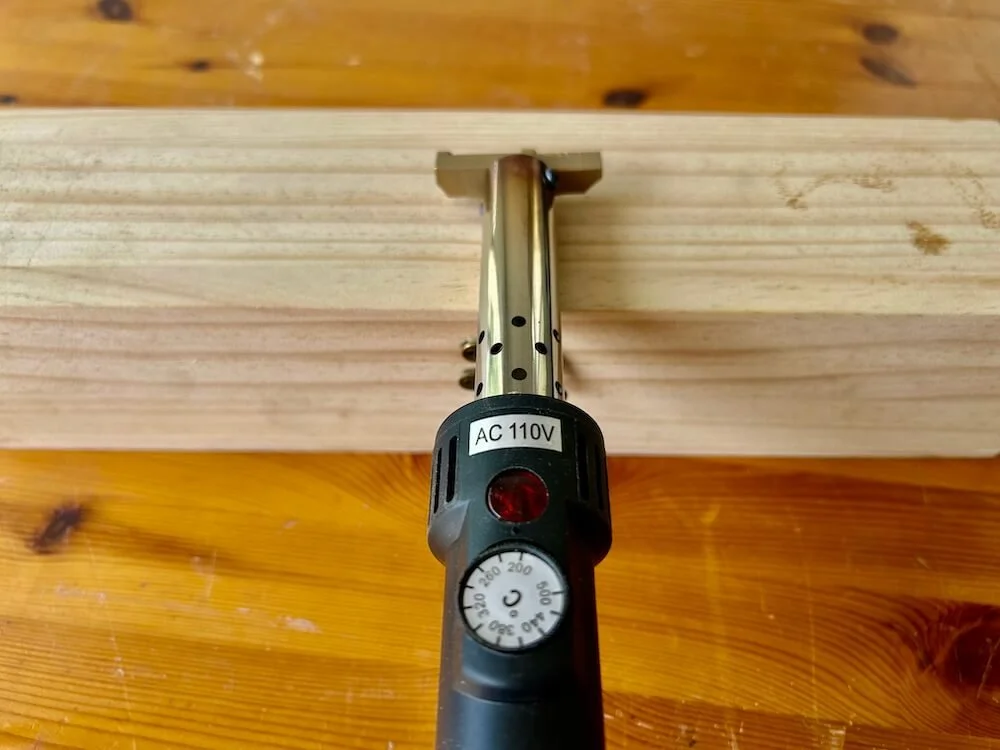
The electric handle changes the game. Plug it in, let it reach temperature, and you’re ready to go.
Pros:
Consistent heat every time
Ideal for batch work
More controlled, repeatable results
Cons:
Requires access to power
Slightly longer initial heat-up time
For my workflow, I lean heavily toward the electric option—especially when I’m branding multiple pieces in a session. But it’s great having both options depending on the situation.
The Moment of Truth: The Burn
At the end of the day, none of this matters if the final result doesn’t look good. So let’s talk about the actual branding.
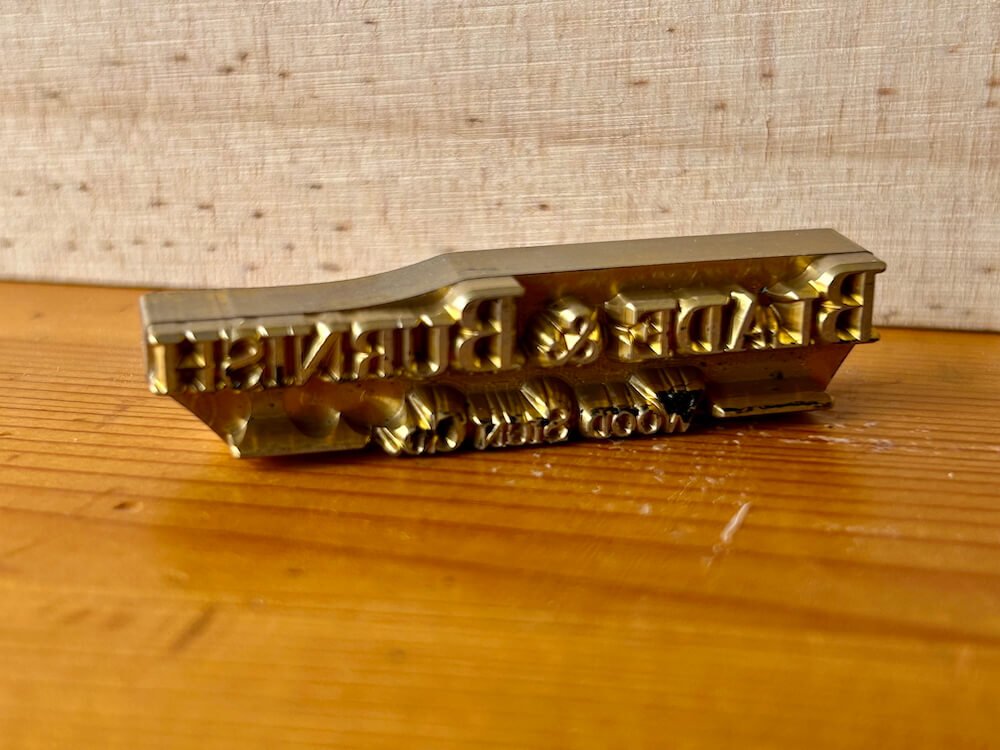
The machining on the branding plate is incredibly clean. Every detail of my logo—edges, spacing, depth—translated perfectly into the metal. And when you press that into wood? It shows. The burn is:
Crisp
Even
Deep enough to last, but not overbearing
Consistent across different pieces
No guesswork. No retracing lines. No hoping it turns out right. Just one clean press—and it’s done.
Integrating It Into My Workflow
This is where the branding iron really proves its value.
Before, branding the back of a sign was a separate, time-consuming step. Now, it’s just part of the natural finishing process.
Just after sanding but before applying oil or finish, I flip the piece over and brand it in seconds.
The wooden handle version is especially nice for quick jobs—it feels natural in the hand and gives you good control over pressure and placement.
And because the branding iron delivers consistent results, I don’t have to think about it. It’s repeatable, reliable, and efficient.
A Note on Wood Types and Results
Not all woods burn the same, and this is something worth understanding if you’re getting into branding.
From my experience:
Softer woods (like pine): Burn quickly, but can lose detail if too hot
Hardwoods (like oak, walnut): Take longer, but produce sharper detail
Oiled vs raw wood: Branding before finishing gives the cleanest result
This ties directly into wood selection, which plays a huge role in how your final piece looks—not just structurally, but visually.
Why This Matters More Than You Think
A branding mark isn’t just a signature—it’s part of your brand identity.
When someone flips over a piece and sees a clean, consistent logo, it communicates:
Professionalism
Attention to detail
Confidence in your work
It’s a small detail that makes a big difference. And when you’re building a business around craftsmanship, those details add up.
Final Thoughts
This collaboration ended up being more than just a tool upgrade—it was a workflow upgrade. The branding iron didn’t replace my craft, it refined it.
It allowed me to:
Save time without sacrificing quality
Improve consistency across my work
Elevate the final presentation of every piece
And most importantly, it gave me a way to leave a mark that truly matches the level of work I’m putting out.
If you’re in a similar position—balancing craftsmanship with growth—it’s worth considering whether your tools are helping you or holding you back.
Because sometimes, the right tool doesn’t just make things easier. It makes them better.
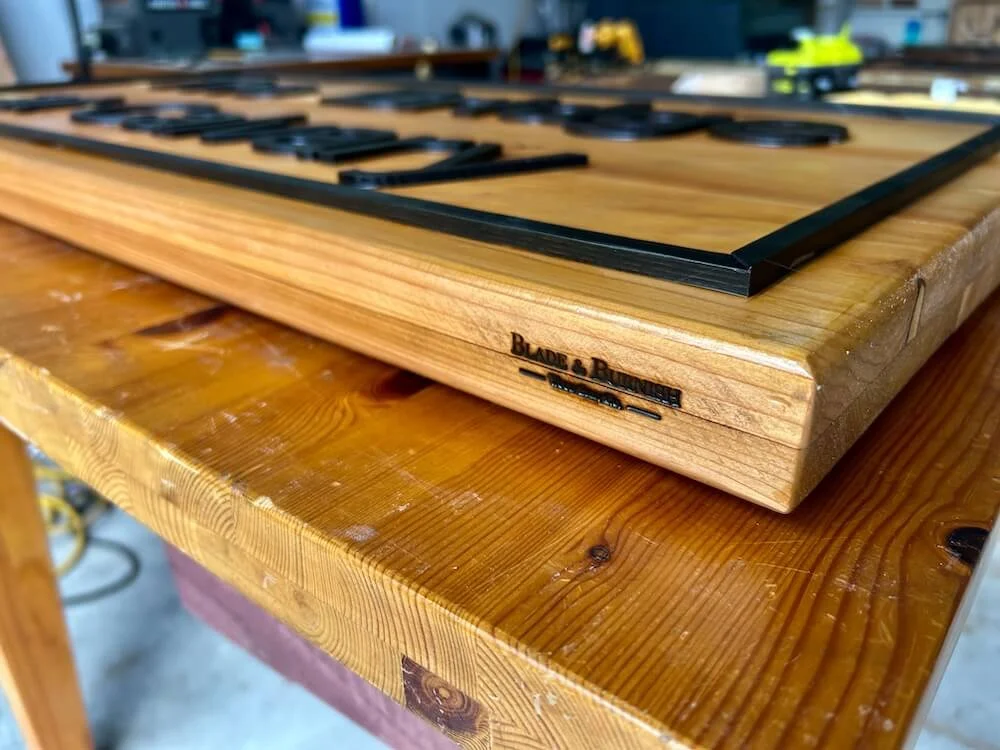
If you want to see how I incorporate tools like this into my workflow, or explore more about custom wood signs, feel free to check out Blade & Burnish Wood Sign Co..
And if you’re thinking about stepping up your own branding process, a custom branding iron might be exactly what you’re missing.
Interested in seeing other sign builds by Blade & Burnish? Check out our gallery here.
Related Readings: