Building Wood Signs That Actually Last Outdoors
Originally published by Signs of the Times on January 27th, 2026 — Written by Blade Bonaduce
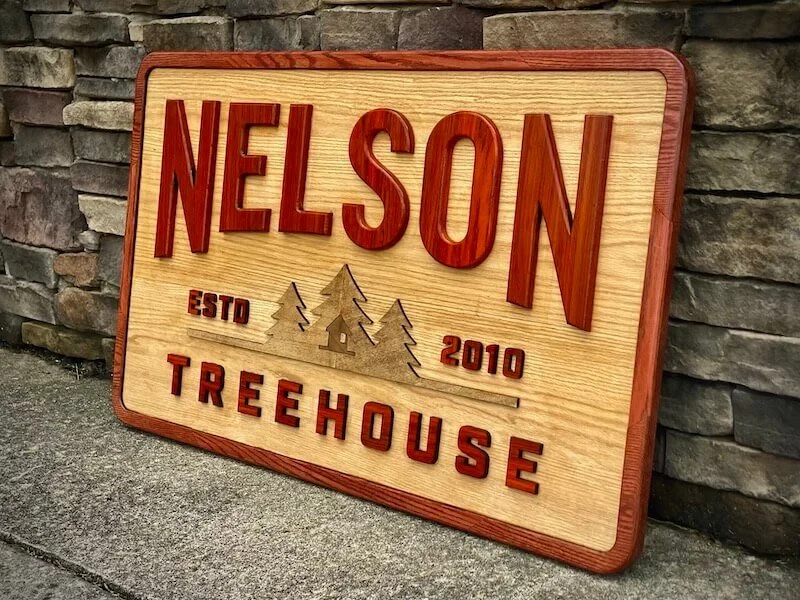
A red oak sign with paduak letters and walnut graphics
I build a lot of wood signs, and most of them live outside. The biggest thing I’ve learned over the years is that wood is never going to behave like metal or plastic, and if you try to make it do so, it’s going to fight back.
Wood moves: It expands, contracts and warps. That’s just part of the deal when you work with a natural material. If you want an outdoor wood sign to last, you have to accept that it moves, and to design around that instead of trying to eliminate it.
A lot of people think water is the biggest issue outdoors, but in my experience, the sun does more damage than anything else. UV exposure breaks finishes down and dries wood out over time. The sun is always going to win eventually, but with the right material choices and a realistic maintenance plan, you can keep a wood sign looking good for decades.

Gluing padauk letter to a red oak sign.
Choosing the Right Wood
Species selection is where everything starts. Some woods are popular because they look great indoors, but they just don’t belong outside. Maple and cherry are good examples. They’re beautiful, but they move too much and don’t hold up well in the elements.
For outdoor signs, I stick with woods that are naturally weather-resistant. Cedar is probably the most common option. It’s lightweight, affordable and easy to source. Fresh cedar has a warm golden color, and if it’s maintained with oil, it will stay that way. If it’s not maintained, it will fade to gray. That color change doesn’t hurt the wood structurally, but it’s something clients should understand going in.
White oak is another solid choice. It’s heavier, denser and more durable, with a tighter grain pattern. It costs more than cedar, but it holds up extremely well. Redwood is great too, especially for carved signs, though it can be hard to find depending on location.
At the high end, woods like teak and ipe (Brazilian walnut) are about as durable as it gets. They’re commonly used in marine applications for a reason. They’re also expensive and tough to work with. For signage, they create a darker overall look, so lighter lettering or contrasting wood species usually work best.
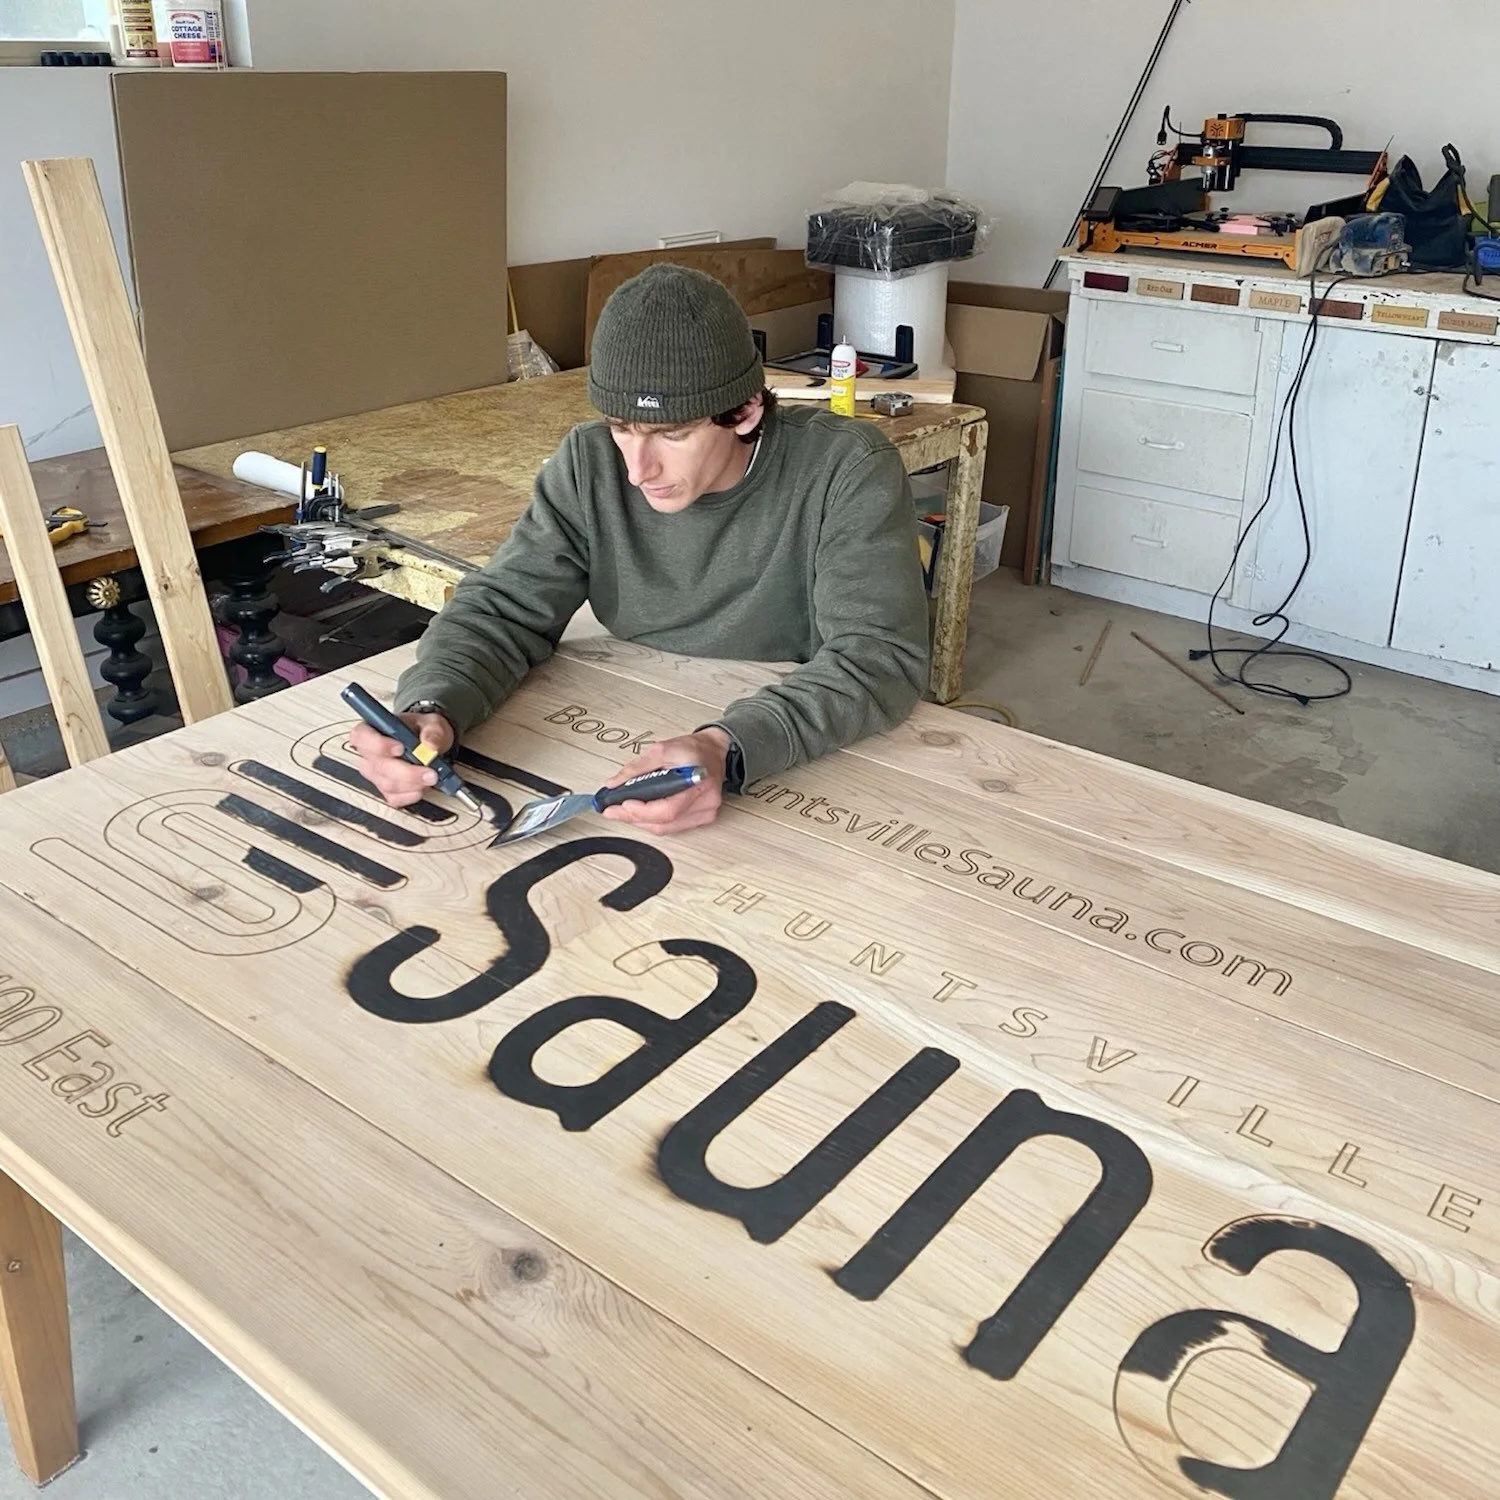
Burning a logo into cedar wood with a pencil tip blowtorch.
Designing for Movement
Good outdoor signs are planned before they’re built. Grain direction, panel size and joinery details matter more outside than they do indoors.
Wood moves perpendicular to the grain. On a large sign panel, that movement can easily be a half inch or more across the seasons. If you glue everything rigidly and hope for the best, something is going to crack.
Frames are a common failure point. If you glue a frame solidly around a panel, it may look perfect at first, but once the panel starts moving, the corners will split. I prefer floating frames that allow the panel to expand and contract inside the frame without stressing the joints.
The same thinking applies to letters and applied elements. When I glue letters to a sign face, I pay close attention to grain direction. If the panel grain runs horizontally, the letter grain should run the same way. When everything moves together, bonds last a lot longer.
Finishes and Maintenance
Finish choice comes down to exposure and maintenance expectations. There’s no one-size-fits-all solution.
For natural wood signs, penetrating oils look the best in my opinion. They soak into the wood and enhance the grain instead of sitting on top. The downside is maintenance. Oil needs to be reapplied about once a year, sometimes more. The upside is that the process is quick and forgiving, and the wood ages beautifully.
Film finishes like marine varnishes can last longer without attention, but when they fail, the repair process is more involved. You’re sanding and refinishing instead of just wiping on more oil.
If a sign uses color, I usually recommend high-quality acrylic exterior paint over a proper primer. It holds up well to UV exposure and doesn’t require a clear coat. Touch-ups are minimal, but you do lose the natural wood grain.
No matter the finish, sealing end grain is critical. That’s where moisture moves in and out the fastest, and it’s often overlooked.
Traditional Woodworking Meets Digital Tools
In my shop at Blade & Burnish, I use CNC and laser machines alongside traditional woodworking tools. These machines don’t replace craftsmanship, but they make certain techniques more practical at scale.
Inlay work is a good example. Cutting precise recesses and matching pieces by hand is slow and difficult. With CNC and laser tools, I can cut complex shapes accurately and repeatably, then fit contrasting wood species together for clean, durable detail that doesn’t rely on paint or vinyl.
The same goes for dimensional lettering. Machines help with precision, but assembly, alignment and finishing are still very much hands-on. Chisels, sanding and careful planning are still part of every build.
Final Thoughts
Durable wood signage isn’t about shortcuts or products. It’s about understanding how wood behaves and working with it instead of against it. New tools can help, but the fundamentals haven’t changed.
Wood signs take more thought and more care than synthetic alternatives, but when they’re done right, they age in a way nothing else can. That’s what keeps me coming back to them.
Interested in seeing other sign builds by Blade & Burnish? Check out our gallery here.