Pyrography for Beginners: Your Guide to Mastering the Art of Wood Burning
What is Pyrography? Let’s Start with the Basics
Pyrography—often called wood burning—is the art of using heated tools to etch designs into wood, leather, or even gourds. Think of it as drawing with fire! This craft dates back thousands of years, with roots in ancient China’s Han Dynasty, where artisans used hot irons to decorate furniture and household items. Today, it’s a beloved hobby for creatives who love blending rustic charm with intricate detail.
The beauty of pyrography lies in its simplicity: all you need is a wood-burning tool, a piece of wood, and a dash of patience. But before you dive in, let’s tackle the big question on every beginner’s mind…
Is Pyrography Hard? Spoiler: It’s Easier Than You Think
The short answer? No—but it rewards practice. Unlike painting or sculpting, pyrography doesn’t require innate artistic talent. You can start by tracing simple designs (more on that later!) and gradually build skills like shading and texture. The key is mastering three fundamentals:
Choosing the right wood
Transferring designs accurately
Controlling heat and pressure
Let’s break these down.
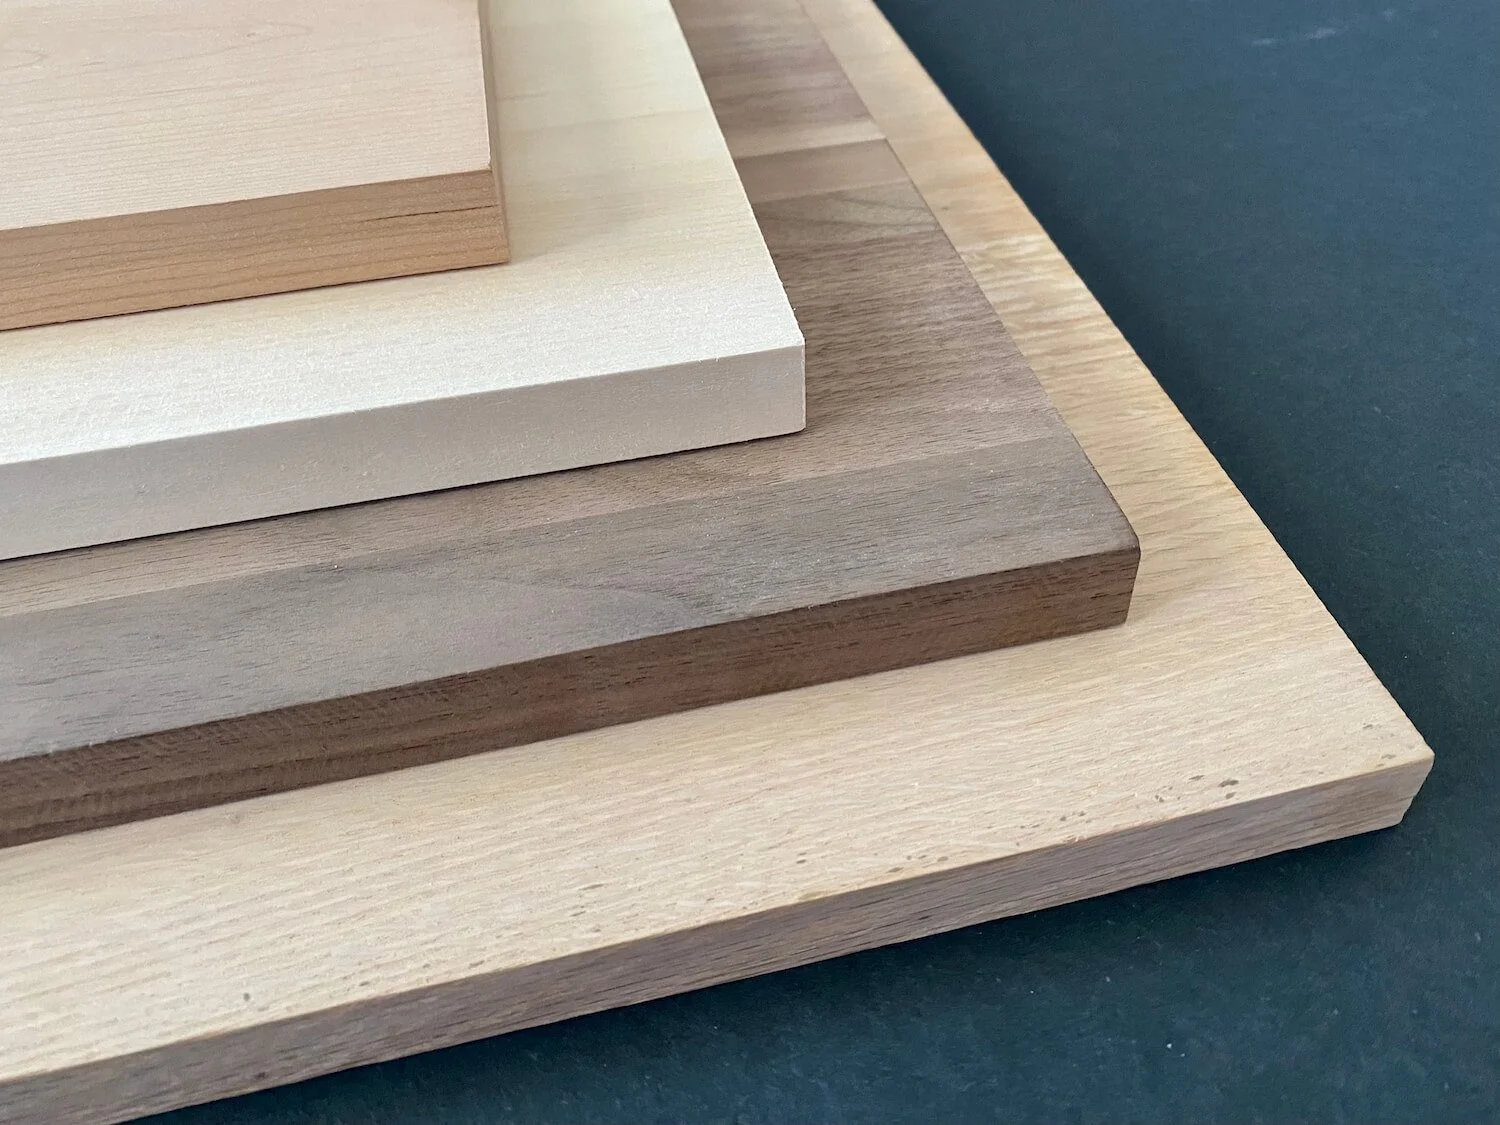
Pyrography and Wood Burning: Selecting Your Canvas
Not all wood is created equal for pyrography. Soft, light-colored woods with minimal grain are ideal because they burn smoothly and show contrast. Here’s a quick comparison:
| Wood Type | Best For | Drawbacks |
|---|---|---|
| Basswood | Beginners (light, smooth, affordable) | Limited natural grain |
| Pine | Detailed work (soft, even surface) | Sap can bubble |
| Birch | Crisp lines (dense but workable) | Slightly pricier |
| Poplar | Practice boards (low sap) | Blotchy grain |
| Avoid: Oak, resinous woods (e.g., cedar) | Uneven burns, toxic fumes | |
Best Overall:
Basswood is the gold standard for newcomers. It’s forgiving, affordable, and widely available at craft stores. Avoid dense or oily woods like oak—they’ll fight your tool and leave choppy marks.
Want to make something that can stand up to the elements? Check out this guide to choosing the perfect wood species for an outdoor setting.
Pyrography How to Transfer Images: No Freehand Stress!
Freehand drawing sounds intimidating, right? Luckily, transferring designs is a breeze. Here are two foolproof methods:
1. Carbon Paper Method
First, print your design to size onto a standard piece of paper. Use scissors to cut away any excess blank space.
Place carbon paper face down on your wood (carbon paper can usually be found at your local craft store for less than $10). Then lay your design overtop and tape down the corners to prevent movement.
With a pen, trace the entire design on the printed paper, applying consistent pressure the whole time. The carbon paper will transfer whatever lines you make onto the wood. Peel away the paper and voilà! A crisp outline appears.
Hint: Use a colored pen so you can easily tell which parts of the design you have already gone over!
2. Graphite Shading
Don’t have graphite paper? No problem, you can make your own! Starting with the same printed design on a normal sheet of paper, flip it over and shade the entire backside of the paper with a pencil. The goal here is to get as much graphite as possible onto the back, so you want to really color it all in.
Once the back is completely shaded in, flip the paper over and tape it onto the wood in the correct position. Use a pen to then trace the lines firmly.
The graphite on the back will transfer onto the wood, leaving you with an image to then burn over with the pyrography tool.
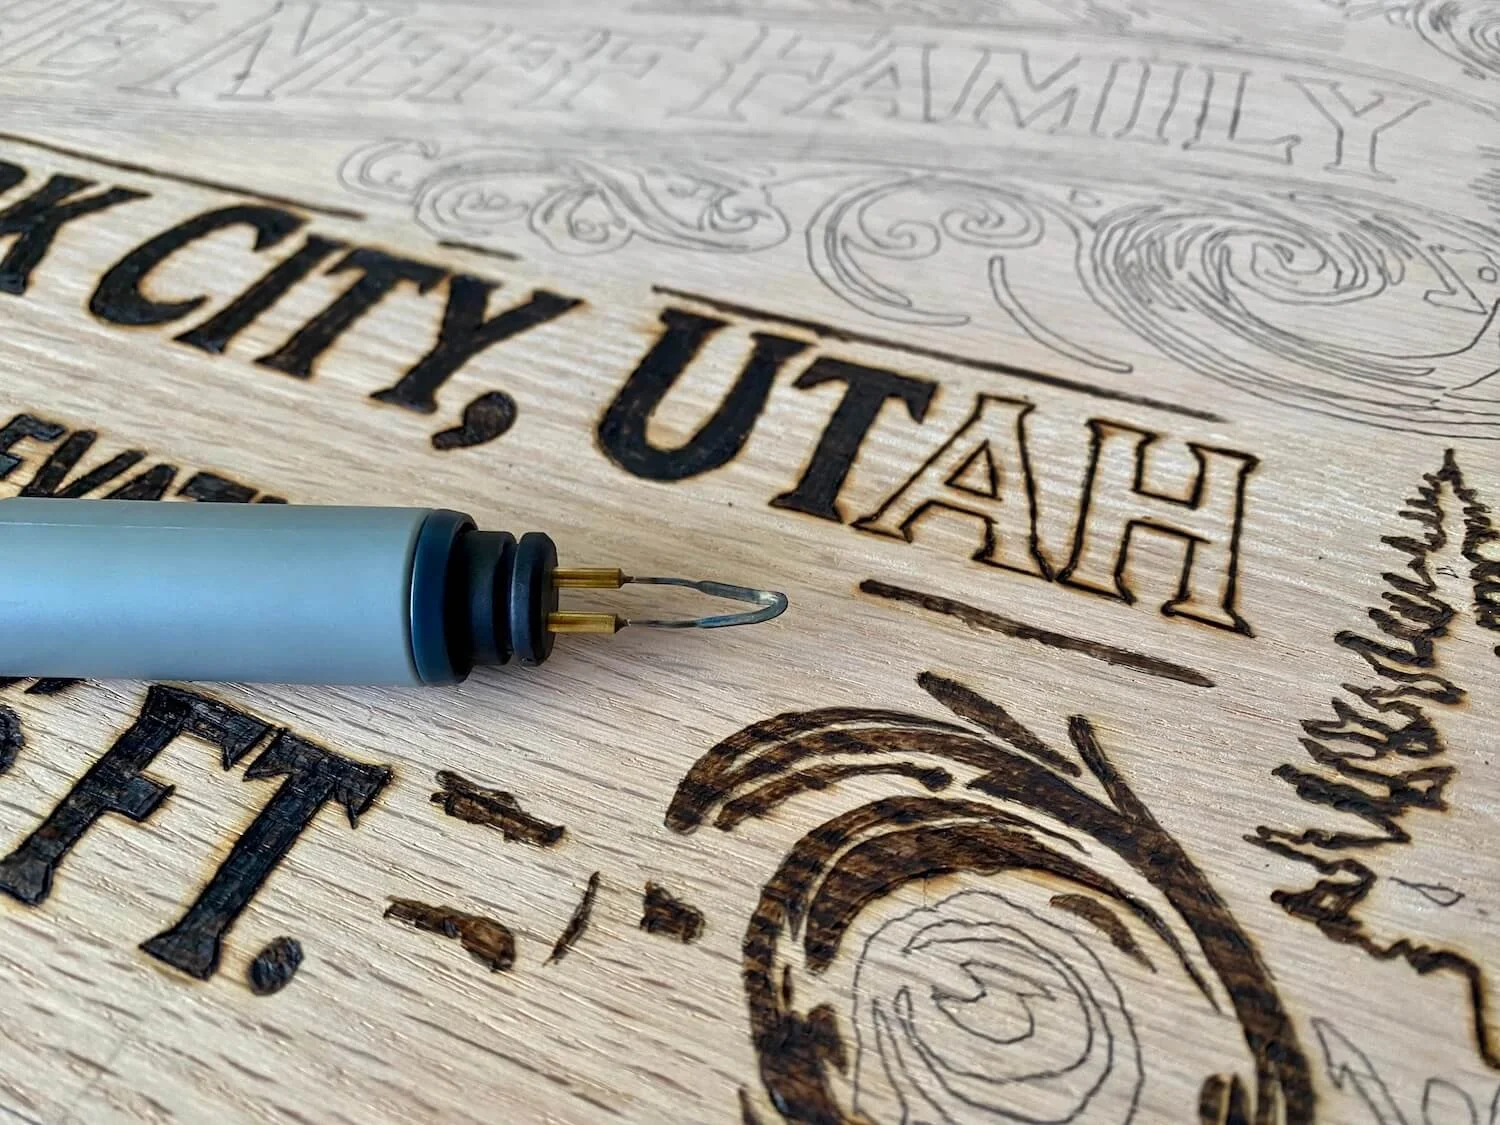
Choosing Your Pyrography Tool: Solid vs. Wire Nib Burners
Your tool is your magic wand in pyrography – let’s break down the two main types:
| Tool Type | Best For | Key Features |
|---|---|---|
| Solid-Nib Burners | • Beginners • Casual hobbyists • Small projects |
• Fixed temperature • Interchangeable tips • Affordable ($20-$50) • Heats up fast |
| Wire-Nib Burners | • Detailed work • Professionals • Large-scale art |
• Adjustable temperature • Precision tips • Longer lifespan • Better control ($80-$200) |
Why It Matters:
Solid-nib tools (like the Walnut Hollow Basic Burner) work like simple soldering irons – perfect for testing the waters. Wire-nib models like the popular act more like fine-tipped pens, letting you "paint" with heat for advanced techniques.
Pyrography Tips Explained: From Basic Lines to Artistic Textures
Tips (called "nibs") are your brushstrokes in wood burning. Here’s your cheat sheet:
| Tip Shape | Best For | Temperature |
|---|---|---|
| Universal Point (Standard) |
• Outlines • Lettering • Basic shapes |
Medium-High (600-700°F) |
| Shading Spoon (Curved Edge) |
• Smooth gradients • Large areas • Skin tones |
Low-Medium (450-550°F) |
| Dot Tip (Rounded) |
• Fur/feathers • Stippling • Texture |
Variable (Tap quickly!) |
| Calligraphy (Chisel Edge) |
• Thick/thin lines • Ribbon effects • Signature styles |
Medium (550-650°F) |
Pro Tip:
Always keep a brass wire brush nearby to clean tips while working. Burnt wood residue (“carbon buildup”) alters your burn quality!
Golden Rules:
Lower temps = lighter burns, slower work.
Higher temps = darker lines, faster wear on tips.
Let the tool do the work—don’t press hard!
Practice on scrap wood first. Try making uniform lines, swirls, and pull-away strokes (lifting the tip mid-stroke for tapered ends).
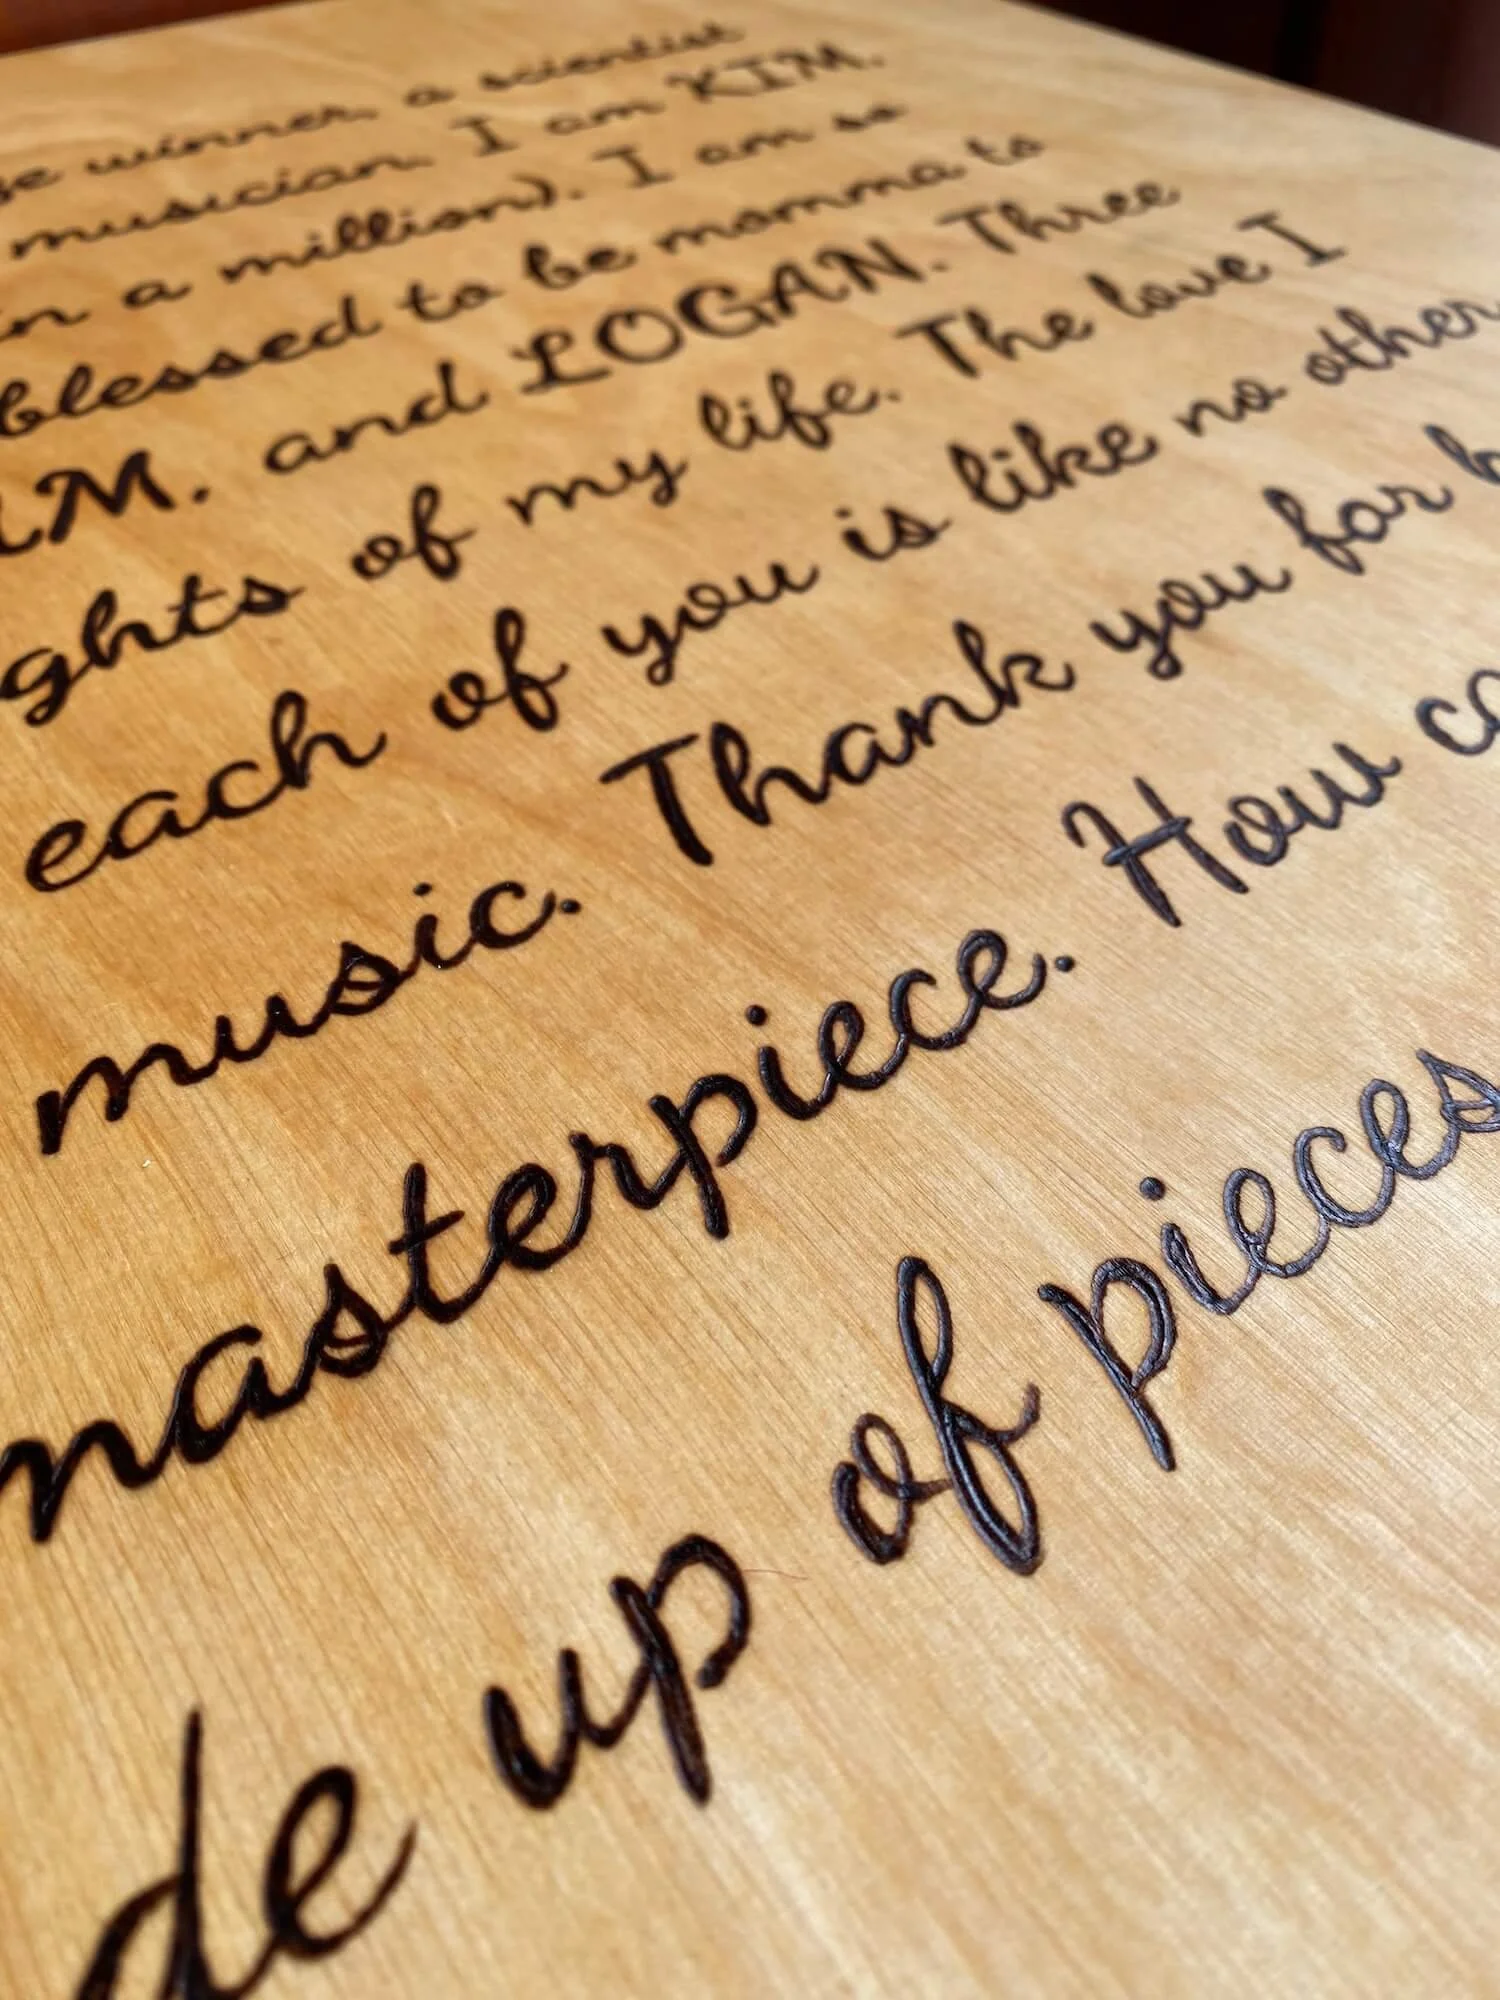
How to Make Pyrography Art: From Doodles to Masterpieces
Once you’ve nailed the basics, it’s time to level up. Here’s how to turn burns into art:
1. Layer Your Burns
Go over areas multiple times (at the same temp) to deepen shadows.
Combine linework with shading for 3D effects.
2. Mix Textures
Use a wire brush tip for “sketchy” textures like grass or hair.
Swap to a flat tip for smooth gradients (think sunsets or water).
3. Add Color (Optional)
Stain wood before burning for a vintage look.
Use watercolors post-burning for pops of color.
Project Ideas to Spark Creativity:
Personalized cutting boards with family recipes
Wooden jewelry (pendants, earrings)
Seasonal ornaments (think Halloween pumpkins or Christmas trees)
Custom wood signs for businesses or homes
Pyrography Ideas to Sell: Turn Passion into Profit
Ready to monetize your new skill? Pyrography’s handmade, rustic appeal sells well in these markets:
1. Online Marketplaces
Etsy: Ideal for custom name signs, wedding gifts, or pet memorials.
Instagram: Showcase time-lapse videos of your process—it hooks viewers!
2. Local Opportunities
Craft Fairs: Small items like keychains and Christmas ornaments sell quickly.
Consignment Shops: Partner with boutiques for home decor pieces.
Pricing Tips:
Materials + Time + Skill: Charge at least $20/hour plus supply costs.
Example: A $20 six by eight inch basswood portrait taking 3 hours could sell for $80 (20+20(3)=80).
Other Variables: Learn more about how much a custom wood sign costs.
Hot Sellers:
Custom coasters
Wooden spoons with floral motifs
Address plaques

Final Thoughts: Your Pyrography Journey Starts Now
Pyrography is more than a craft—it’s meditation with a side of fire. Start small, embrace mistakes (they add character!), and remember: every burn is a step toward mastery. Whether you’re making gifts for friends or building a side hustle, this art form meets you where you are.
Grab a basswood slice, fire up your tool, and let the wood guide you. The only limit? Your imagination.
Want some inspiration? Check out these custom wood signs that combine the art of pyrography with woodworking to make unique artisan signs! 🔥